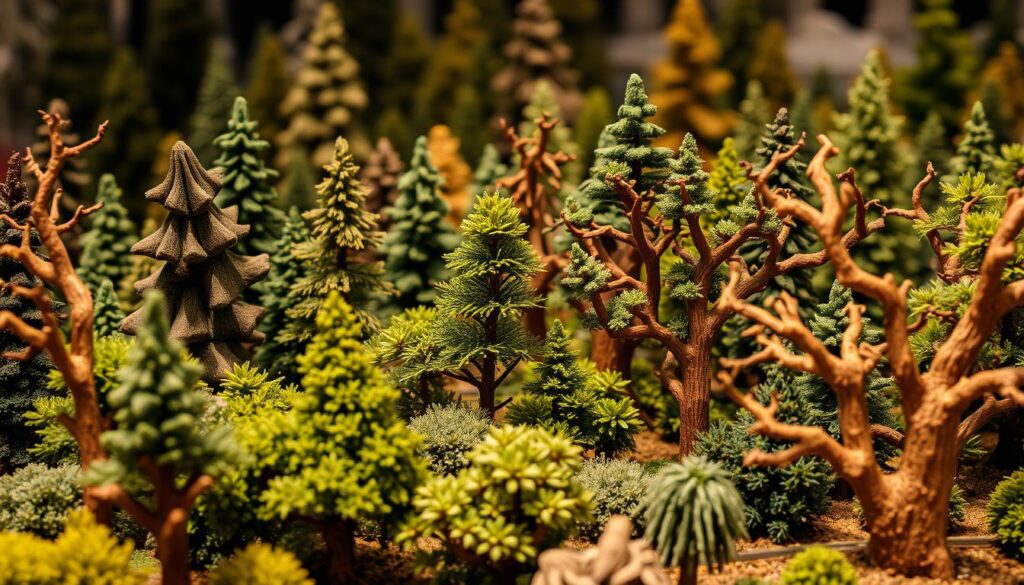
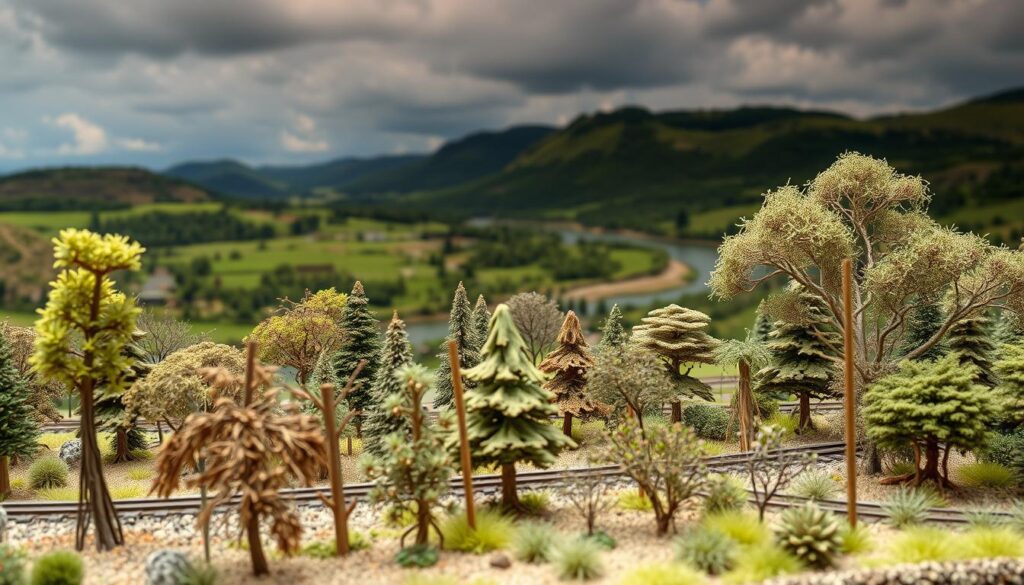
Did you know that a single well-crafted tree can transform an entire scene? In my years of working on model railroads, I’ve found that realistic trees for model train layouts is crucial. It’s not just about the tracks or the trains—it’s the forests, the branches, and the shade that make the difference.
When I started, I struggled to find affordable options. Commercial kits were expensive, and the results didn’t always match my vision. That’s when I discovered the magic of using floral wire and other inexpensive materials. With a little creativity, I could craft stunning tree models that looked like they belonged in nature.
In this article, I’ll share my step-by-step process for creating realistic trees. Whether you’re a seasoned hobbyist or just starting, these techniques will save you time and money. From twisting wire armatures to painting with acrylics, I’ll guide you through every step. Let’s turn your project into the best model train layout.
Key Takeaways
- Realistic scenery elevates the look of any model railroad.
- Using floral wire is a cost-effective way to create stunning trees.
- Expert tutorials, like Luke Towan’s, can inspire and guide your work.
- DIY methods allow for customization and creativity.
- Focusing on details like branches and trunks makes a big difference.
Want to build your dream model railroad? Download my FREE guide

Privacy Policy: We hate SPAM and promise to keep your email address safe
My Journey with trees for model train layouts
Creating realistic scenery became a game-changer for my hobby. When I first started, I struggled to replicate the natural look I envisioned. The trunks and branches never seemed right, and the overall feel was off. It wasn’t until I discovered practical tips and techniques that everything clicked.
The Value of Realistic Scenery
Realistic scenery adds depth and life to any layout. On my model railroad, I noticed how a well-placed tree could transform an entire scene. It wasn’t just about the visual appeal—it was about creating an immersive experience. The shade from the branches and the texture of the trunk made all the difference.
How Practical Tips Transformed My Hobby
I learned a lot from experts like Luke Towan and YouTube tutorials. Using wire and other cost-effective materials, I could craft stunning designs without breaking the bank. Here’s what made the biggest impact:
- Focusing on details like trunks and branches.
- Using acrylic paint to add natural textures.
- Planning each step to ensure consistency.
These techniques not only saved me time but also turned my project into something I’m truly proud of. Realistic scenery isn’t just about looks—it’s about bringing your vision to life.
Step-by-Step Guide to Crafting Realistic Trees
Crafting realistic trees for your layout doesn’t have to be complicated or expensive. They even work with unconventional dockside railroad layouts. With a few basic tools and some creativity, you can create stunning designs that elevate your scene. Here’s my step-by-step guide to help you get started.
Gathering the Right Tools and Materials
Before you begin, make sure you have everything you need. Here’s a list of essential items:
- Floral wire (I recommend 22-24 gauge for flexibility).
- Pliers and wire cutters for shaping and trimming.
- Acrylic and latex paints for adding natural textures.
- Adhesive spray and foliage mixture for the final touch.
- A foam block to hold your work in place.
Having the right materials on hand will save you time and ensure a smooth process.

Building the Tree Structure with Wire Twists
Start by cutting 7 pieces of wire, each about 7-12 inches long. Fold them in half and twist them together 7-8 times to form the trunk. This creates a sturdy base for your tree.
Next, split the twisted wire into smaller bundles to form the branches. Use pliers to shape them naturally. Remember, practice makes perfect—don’t worry if it doesn’t look perfect the first time.
Adding Paint and Foliage for a Natural Finish
Once the structure is complete, it’s time to add color. Start with a base coat of latex paint to cover the wire. Then, use acrylic paints to add depth and texture to the trunk and branches.
For the final step, spray the branches with adhesive and roll them in a foliage mixture. This gives your tree a lifelike appearance. Let it dry, and you’re done!
With these steps, you can create stunning trees that bring your layout to life. It’s even applicable to quarry train railroad layouts.
Exploring Alternative Techniques and Materials
Discovering alternative techniques opened up a world of possibilities for my projects. While the DIY wire method is rewarding, sometimes I need faster solutions, especially for large layouts. That’s when I turned to commercial kits and innovative materials.
Commercial Kits: A Time-Saving Option
Products like Woodland Scenics Deciduous Trees and Scenic Express “SuperTree” material have been lifesavers. These kits provide pre-made armatures and foliage, cutting down on crafting time. For example, the Scenic Express kit offers about 30 trees for $29.98—just $1 per tree. That’s a lot of value for the price.

Combining Plastic Armatures with Natural Products
One of my favorite techniques is mixing plastic armatures with natural materials. This approach creates a unique, realistic look. For instance, I’ll twist and clip the limbs of a commercial tree base to vary its appearance. Then, I’ll add Noch leaf flakes for a natural finish.
Speeding Up the Process with CA Glue
Using CA glue and pre-made foliage like Noch leaf flakes has been a game-changer. These materials allow me to assemble trees quickly without sacrificing quality. For large layouts, this method is especially helpful, as it saves a lot of time.
| Material | Cost | Time Saved |
|---|---|---|
| Woodland Scenics Deciduous Trees | $15-$20 per kit | 1-2 hours per tree |
| Scenic Express SuperTree Kit | $29.98 for 30 trees | 2 evenings for 30+ trees |
| Noch Leaf Flakes | $10-$15 per pack | 30 minutes per tree |
These alternative techniques have transformed my workflow. Whether I’m working on a small diorama or a sprawling layout, these methods deliver stunning results without taking up too much time. Give them a try and see how they can elevate your projects!
Add Your Model Train Tree scenery Today
Bringing a scene to life with realistic details has always been my passion. Through this guide, I’ve shared practical steps and alternative techniques to create stunning elements for your layout. Whether you choose DIY methods or commercial kits, the results can transform your project into something truly special.
One of the biggest takeaways is the cost-effectiveness of crafting your own tree designs. Using simple materials like wire and paint, you can achieve a natural look without spending a fortune. The impact of these details on a model scene is undeniable—it adds depth, texture, and a sense of realism.
I encourage you to experiment with both DIY and pre-made options to find what works best for you. Every step you take brings you closer to a masterpiece. Don’t hesitate to share your own techniques and experiences—this hobby thrives on creativity and collaboration.
Remember, every small improvement counts. Keep learning, keep creating, and most importantly, enjoy the process. Your passion will shine through in every detail.
Want to build your dream model railroad? Download my FREE guide

Privacy Policy: We hate SPAM and promise to keep your email address safe
FAQ
What materials do I need to start making trees for my layout?
You’ll need wire for the trunk and branches, acrylic paint for coloring, and foliage material like Woodland Scenics or Scenic Express products. A pair of pliers and glue are also essential.
How do I make the tree trunk look realistic?
Start by twisting wire to form the trunk and main branches. Use acrylic paint to add texture and color. For a natural finish, layer shades of brown and gray to mimic bark.
Can I use commercial kits for my project?
Absolutely! Kits from brands like Woodland Scenics are great for beginners. They save time and provide all the materials you need to create lifelike results.
How long does it take to build a tree?
It depends on the size and detail. A basic wire tree can take about an hour, while a more intricate piece might require half a day. Patience pays off in the end!
What’s the best way to add foliage?
Apply adhesive to the branches and sprinkle fine foliage material. Layer different shades of green for depth. Don’t be afraid to experiment until it looks natural.
How do I integrate trees into my layout?
Plan their placement to create a balanced scene. Use taller pieces for the background and smaller ones up front. This adds depth and makes your layout more engaging.
Can I mix handmade and commercial trees?
Yes! Combining both adds variety and realism. Handmade pieces let you customize, while commercial kits save time and effort.
What’s the key to a realistic forest look?
Vary the height, shape, and color of your trees. Group them in clusters and add ground cover like grass or moss. This creates a natural, immersive effect.

