Did you know that some of the most intricate layouts can span over 50 feet of track, yet fit into a room as small as 16’ x 24’? This fascinating blend of creativity and precision is what drew me into the world of logging model railroad layouts. My journey began with a vision inspired by the rugged beauty of the Olympic mountains in Washington state.
Creating a layout that captures the essence of historical logging operations requires careful planning and attention to detail. From selecting the right materials to ensuring the track flows naturally, every decision plays a crucial role. I’ve learned that combining authentic track planning with stunning scenery can transform even a limited space into a captivating masterpiece.
One of the most rewarding aspects is integrating scale and time elements to replicate the feel of real operations. Whether it’s the gentle curves of the track or the meticulous placement of scenery, these details bring the layout to life. Through practical experience and thoughtful planning, I’ve discovered the keys to success in this rewarding hobby.
Key Takeaways
- Careful planning is essential for creating realistic layouts.
- Material selection impacts the overall look and functionality.
- Attention to scale and time adds authenticity to the design.
- Scenery placement enhances the visual appeal of the layout.
- Practical experience helps refine the design process.
Want to build your dream model railroad? Download my FREE guide

Privacy Policy: We hate SPAM and promise to keep your email address safe
Let’s Get Started
Growing up near the Olympic mountains, I was always captivated by the rugged beauty of the landscape. The towering peaks and dense forests inspired my love for rail systems and their history. It wasn’t long before I started exploring the world of creating realistic layouts that mirrored the operations I admired.
I had previously built dockside model railway layouts, so I was eager to try my hand at logging ones too.
My Journey into Model Railroading
My journey began with a simple HO-scale train set, a gift from my parents. Over time, I became fascinated with the intricate details of rail operations. I spent hours studying the tracks in Poulsbo, Shelton, and Anacortes, absorbing every detail. These experiences shaped my passion for designing layouts that felt authentic and alive.
What Inspired My Logging Layout
The mountains of Washington state played a huge role in my design choices. I wanted to capture the essence of historical logging operations, where trains navigated steep grades and tight curves. To bring this vision to life, I integrated sound effects using DCC technology, adding an extra layer of realism.
Historical logging railroads also influenced my decision to use a point-to-point track plan. This approach allowed me to replicate the feel of real-life operations, where trains traveled from one destination to another. It was a challenging but rewarding process that taught me the importance of careful planning and attention to detail.
Through this journey, I’ve learned that the key to a successful layout lies in blending authenticity with creativity. Whether it’s the sound of a train whistle or the placement of scenery, every detail matters. This passion for realism continues to drive my work and inspire new projects.
Planning and Designing Your Layout
Every great layout starts with a solid plan and thoughtful design. When I began my project, I knew that careful preparation would be the key to success. The first step was evaluating my space and selecting the right materials to bring my vision to life.
Space and Material Considerations
Working in a 16’ x 24’ room presented unique challenges. Windows and existing obstacles had to be incorporated into the design. I chose plywood for the base, cork roadbed for the track, and high-quality components to ensure durability and authenticity.
Seasonal and time-of-day effects added a layer of realism. For example, I used lighting to simulate sunrise and sunset, creating a dynamic atmosphere. These details made the layout feel alive, whether it was day or night.
Mapping Out Your Track and Scenery
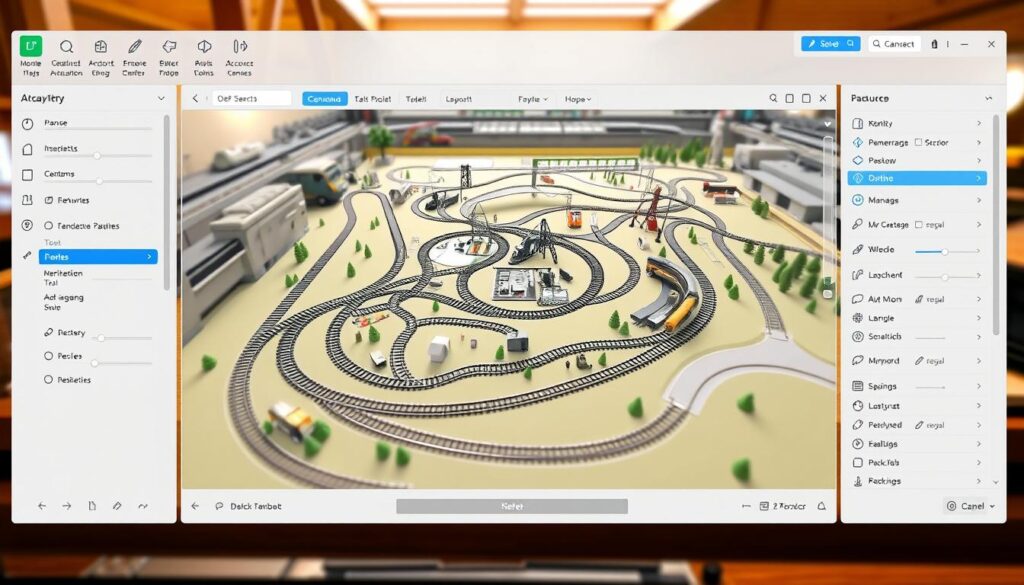
I used AnyRail software to draft a precise track plan. This tool allowed me to design gradual curves and elevation changes, mimicking the wooden railroads of the United States. Prototyping was essential, as it helped me refine the layout as conditions changed.
Here’s a comparison of materials I used for my project:
| Material | Purpose | Benefits |
|---|---|---|
| Plywood | Base Construction | Sturdy and Durable |
| Cork Roadbed | Track Support | Reduces Noise, Adds Realism |
| High-Quality Track | Locomotive Movement | Smooth Operation, Longevity |
By combining careful planning with creative solutions, I was able to overcome space constraints and create a layout that felt authentic and engaging. Whether you’re working on a small or large O scale train project, these principles can help you achieve success.
Essential Materials and Tools for Building
Building a realistic layout requires the right materials and tools to bring your vision to life. From track planning to scenery, every detail matters. I’ve found that using high-quality components ensures durability and authenticity.
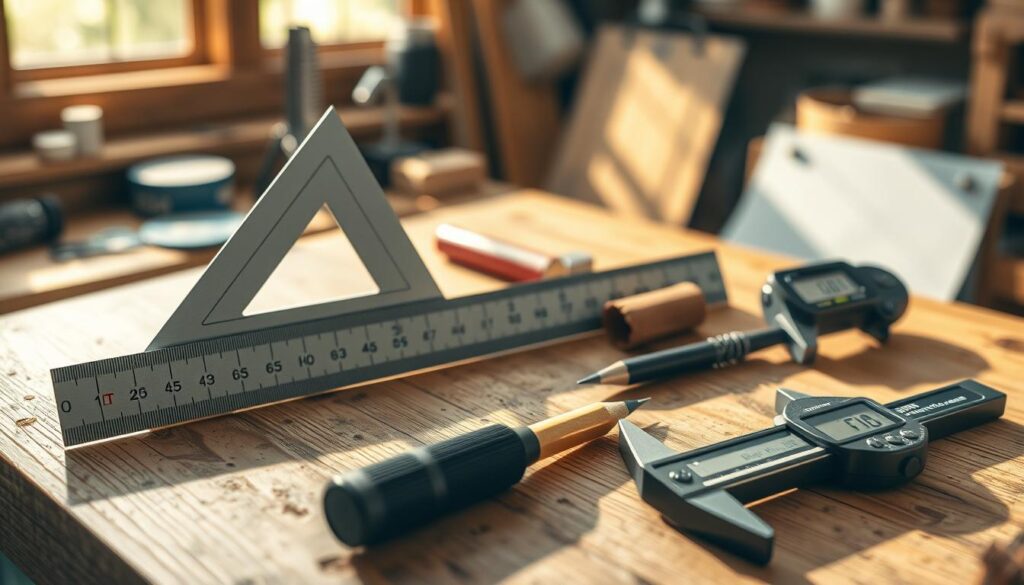
One of my favorite tools is the Micro Engineering code 70 track. It’s perfect for creating a smooth and realistic look. For turnouts, I prefer no. 6, as they fit seamlessly into the design. These elements are essential for any project.
Recommended Kits and Construction Tools
Kadee models are a great choice for adding realism to your design. Their attention to detail is unmatched. For scenery, I use tree molds and built-up kits to enhance the natural look. These kits make it easy to create mountains, trestles, and small towns.
When assembling the subroadbed and risers, I use 1×4 lumber. It’s sturdy and easy to work with. Measuring and cutting materials to scale is crucial. A 12-foot tape measure with 1/32-inch increments ensures accuracy.
Here’s a list of essential tools and materials I use:
- Saws and tracing wheels for precise cuts.
- Scale measuring instruments for accuracy.
- Foam boards for lightweight terrain construction.
- Static grass for realistic lawns and fields.
For track alignment, I focus on the loop design and proper foot measurements. This ensures smooth operation and a realistic feel. Planning for trucks and trains to match historical prototypes adds authenticity.
| Material | Purpose | Benefits |
|---|---|---|
| Micro Engineering Code 70 | Track Construction | Smooth, Realistic Look |
| Kadee Models | Detailing | High-Quality, Authentic |
| Tree Molds | Scenery | Natural Appearance |
| 1×4 Lumber | Subroadbed Assembly | Sturdy, Easy to Work With |
By using these tools and materials, you can create a layout that’s both functional and visually stunning. Whether you’re a beginner or an experienced builder, these tips will help you achieve your goals.
Expert Tips for logging model railroad layouts
Achieving authenticity in your design requires more than just materials—it’s about technique and precision. Over the years, I’ve discovered that advanced methods can elevate your project from good to extraordinary. Here are some expert tips to help you create a realistic and engaging layout.
Incorporating Authentic Track Plans and Prototypes
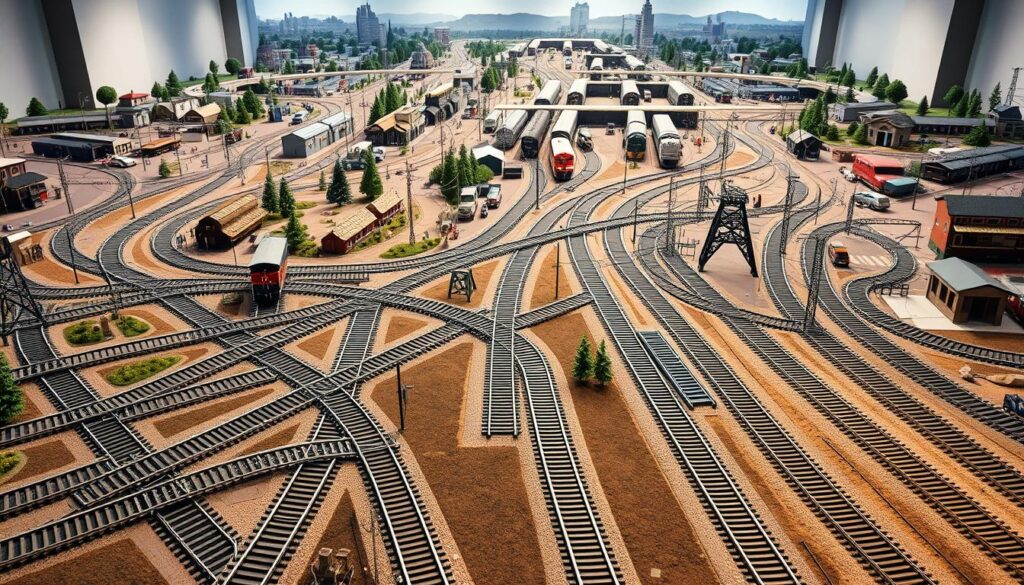
One of the most effective ways to add realism is by using authentic track plans. I’ve found that studying historical prototypes provides invaluable insights. For example, I used Peco Code 100 turnouts to replicate the smooth movement of trains in real-life operations.
Prototyping is another essential step. I often use Micro Engineering code 70 track for its realistic appearance. By testing different configurations, I ensure the layout flows naturally and meets operational needs.
- Select rolling stock that matches historical prototypes, such as log cars and detailed locomotives.
- Integrate turnout switch machines controlled by DCC++ scripts for precise operations.
- Use Arduino-controlled servos to automate track switching and add dynamic movement.
Lighting plays a crucial role in creating a lifelike atmosphere. I’ve used model train LED lights to simulate day and night operations, adding depth to the scene. Capturing the perfect picture often depends on how well the lighting complements the layout. I used this idea when creating my two level train layouts.
Advanced operations like automated control systems can significantly improve realism. For example, I’ve integrated sound effects using DCC++ to mimic the rumble of trains and the clatter of tracks. These details make the layout feel alive and immersive.
Continual learning is key to refining your design. I often turn to video tutorials and online resources to stay updated on the latest techniques. Learning from experts has helped me improve my building skills and achieve greater authenticity.
By combining these expert tips with careful planning, you can create a layout that’s both functional and visually stunning. Whether you’re a beginner or an experienced builder, these strategies will help you achieve your goals.
Advanced Operation: Automation, Lighting, and Sound
Taking your design to the next level involves integrating advanced automation, lighting, and sound. These elements add a layer of realism and immersion that transforms your project into a dynamic experience. I’ve found that combining technology with creativity opens up a lot of possibilities for enhancing every inch of your work.
Integrating DCC++ with Arduino for Control
One of the most exciting advancements I’ve implemented is using DCC++ with Arduino for control. This system allows you to manage locomotives, turnouts, and scenic animations with precision. I started with an Arduino Mega and a motor shield, which provided the foundation for automating complex operations.
Here’s how I set it up:
- Wired the Arduino Mega to control servos for animations like enginehouse doors and gantry cranes.
- Used infrared sensors to detect train positions, ensuring smooth automation.
- Integrated PWM outputs to simulate realistic lighting effects, such as sunrise and sunset.
This setup not only improves control but also adds a lot of fun to the operation. It’s amazing to see how technology can bring your town to life.
Animating Scenes with LEDs and Sound Effects
Lighting and sound are essential for creating an immersive experience. I’ve used LED lights to simulate street-level lighting and seasonal changes. For example, warm tones can mimic a sunset, while cool tones create a winter atmosphere.
Sound effects are another game-changer. By syncing sounds with automated actions, you can replicate the rumble of trains or the clatter of tracks. I’ve used DCC++ scripts to trigger these effects, making the layout feel alive.
Here are some animated elements I’ve incorporated:
- Servo-driven water tank spouts that move realistically.
- LED-lit streetlights that dim and brighten based on the time of day.
- Sound effects that match the movement of trains and machinery.
Balancing fun and precision is key to running an automated layout. With the right setup, you can create a scale layout that’s both functional and visually stunning.
Showcasing Your Unique Scenery and Structures
The secret to bringing a miniature world to life lies in the details of its scenery and structures. Whether you’re crafting a bustling town or a serene countryside, the right techniques can transform your area into a vibrant scene that feels alive.
Creating Realistic Terrain and Backdrops
One of the most rewarding parts of designing a layout is building the terrain. I’ve found that using chicken wire and plaster cloth creates a sturdy base for hills and valleys. Once the shape is set, I add texture with sculpting tools and paint to mimic natural landscapes.
For backdrops, I combine painted drywall with photo murals. Using Processing3 software, I extract high-quality images of real-life scenes to blend seamlessly into the area. This technique adds depth and makes the layout feel more immersive.

- Use static grass applicators to create lifelike lawns and fields.
- Incorporate natural elements like trees and shrubs to add realism.
- Experiment with lighting to simulate different times of day or seasons.
Structures like sawmills and small town facades can elevate the scene. I often use kits from trusted brands, which provide detailed components that are easy to assemble. Proper placement of these structures ensures they blend naturally into the area.
Lighting plays a crucial role in bringing the scene to life. I use LED lights to highlight key features and create dynamic effects. For example, warm tones can mimic a sunset, while cool tones evoke a winter morning.
By combining these techniques, you can create a layout that feels like a piece of living history. It’s an iterative process, but the results are worth the effort. Every detail, from the terrain to the lighting, contributes to a scene that captivates and inspires.
Build Your Logging Model Train Layout Today
Creating a detailed and immersive project requires a blend of planning, creativity, and technical skill. From selecting the right materials to integrating advanced systems like micro engineering code and DCC++, every step plays a crucial role in bringing your vision to life. Whether you’re working with limited space or aiming to capture the speed of real operations, careful planning ensures a rewarding outcome.
I encourage you to take a hands-on approach and start your own project. Focus on quality and authenticity, and don’t hesitate to explore further resources like the Beginner’s Guide. Remember, every project has its unique character, and sharing your experiences with the community can inspire others.
Keep experimenting with innovative ideas, and let your creativity shine. With dedication and attention to detail, you can transform any space into a captivating masterpiece. Happy building!
Want to build your dream model railroad? Download my FREE guide

Privacy Policy: We hate SPAM and promise to keep your email address safe
FAQ
How do I choose the right scale for my layout?
I recommend considering the space you have and the level of detail you want. HO scale is popular for its balance of size and detail, while N scale works well for smaller areas.
What are the best materials for building realistic terrain?
I use foam board for shaping the base and plaster cloth for texture. Adding ground cover like static grass or fine turf brings the scenery to life.
How can I make my track plan more authentic?
I study real-life prototypes and historical maps to design realistic curves and turnouts. Incorporating a mix of straight and curved sections adds authenticity.
What tools are essential for constructing a layout?
I always have a hobby knife, sandpaper, and a good set of files on hand. A soldering iron is also useful for wiring and track connections.
How do I add sound and lighting to my layout?
I use DCC decoders for sound effects and LEDs for lighting. Integrating these with a control system like Arduino allows for smooth operation.
What’s the best way to create a realistic backdrop?
I paint or print a scenic backdrop that matches the theme of my layout. Adding layers of depth with trees and mountains enhances the illusion.
How do I ensure smooth operation of my trains?
I regularly clean the tracks and check for proper alignment. Using high-quality rolling stock and locomotives also helps prevent issues.
Can I automate parts of my layout?
Yes! I use DCC++ with Arduino to automate train movements and control accessories like signals and crossing gates.

