Did you know that a well-designed shelf model railway layout can transform even the smallest space into a miniature world of trains and scenery? These compact setups are perfect for hobbyists who want to bring their passion for model railroading into their homes without sacrificing valuable room.
I’ve always been fascinated by the creativity and precision that goes into building these layouts. Projects like Gary Saxton’s dining room helix and Lance Mindheim’s wall-mounted designs show how a limited area can still offer endless possibilities.
In this guide, I’ll share tips and strategies to help you create a stunning layout that’s both functional and beautiful. You can also check out my guide on model railway quarry layouts to learn more.
Key Takeaways
- Shelf layouts are a creative, space-saving solution for model railroading enthusiasts.
- Notable projects like Gary Saxton’s helix showcase the potential of compact designs.
- Integrating furniture with your layout enhances both functionality and aesthetics.
- Detailed planning is essential for creating a realistic and engaging setup.
- This guide is designed to help beginners and experienced builders alike.
Want to build your dream model railroad? Download my FREE guide

Privacy Policy: We hate SPAM and promise to keep your email address safe
Introduction: My Love Affair With Model Railroading
From the moment I saw my first locomotive, I was hooked on the art of model railroading. It wasn’t just about the trains; it was the way they brought entire worlds to life. I remember my first set, a simple figure-eight track, and how it felt like magic watching the tiny cars glide along the rails.
As I grew older, my passion deepened. That’s especially true for Aussie model railway layouts. I started reading classic articles about the hobby, learning how to plan and design layouts that felt real. One of my early inspirations was a neighbor who built a stunning setup in his garage. His attention to detail, from the scenery to the track plan, showed me what was possible.
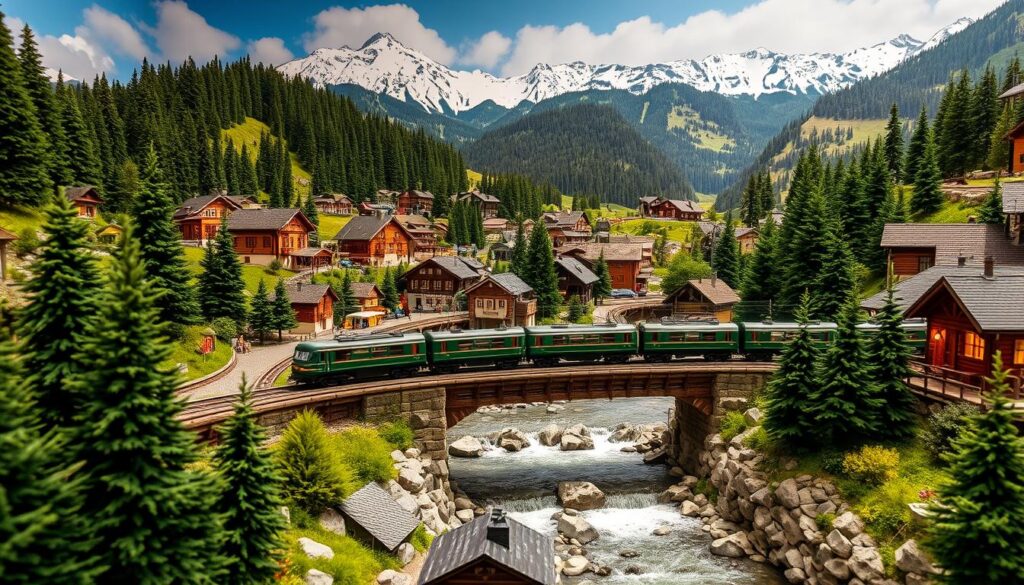
When I moved into a smaller space, I had to get creative. That’s when I discovered the beauty of a shelf layout. It was the perfect solution—compact, functional, and still full of charm. I could fit it into any room, turning a blank wall into a dynamic display of trains and scenery.
Over the years, I’ve built several projects that hold a special place in my heart. One of my favorites was a small layout inspired by a rural countryside. The rolling hills, tiny houses, and winding tracks made it feel like a real place. It reminded me why I fell in love with this hobby in the first place.
“Model railroading isn’t just a hobby; it’s a way to create something timeless.”
Even in a small apartment, a well-designed layout can transform your living space. It’s not just about the trains—it’s about the stories they tell and the memories they create. Whether you’re a beginner or a seasoned builder, there’s always something new to explore.
In the sections ahead, I’ll share tips and ideas to help you create your own masterpiece. From planning your track to adding realistic scenery, we’ll dive into the basics and beyond. Let’s get started on this journey together!
The Basics of Shelf Model Railway Layouts
Creating a compact train setup doesn’t mean sacrificing creativity or realism. A linear layout is a practical way to bring your ideas to life, even in tight spaces. These designs mimic real-world railroads, offering a point-to-point approach that’s both functional and visually appealing.
At the core of any project are simple components like boards and brackets. These elements provide the foundation for your design. When planning, consider the scale of your trains. For example, the popular OO scale (1:76) works well for detailed scenery while fitting into smaller areas.
A straight, realistic track is key to capturing the essence of a real railroad. This design allows for smooth operations and showcases the beauty of your trains. Small layouts are particularly effective for switching operations, where every detail matters.
Here’s a quick guide to planning your project:
- Measure your space to determine the size of your board.
- Choose a scale that fits your vision and area.
- Sketch a track plan that includes switches and sidings.
- Focus on scenery to add depth and realism.
Understanding the fundamentals of design is crucial. Start with a simple plan and gradually add complexity. This approach ensures your layout is both manageable and rewarding.
| Component | Purpose |
|---|---|
| Board | Provides the base for your layout. |
| Brackets | Supports the board and secures it to the wall. |
| Track | Creates the path for your trains. |
| Scenery | Adds realism and visual interest. |
With careful planning and attention to detail, even a small space can host an engaging and realistic train display. Start simple, and let your creativity guide you.
Key Benefits and Space-Saving Advantages
One of the most rewarding aspects of compact train setups is their ability to fit seamlessly into any room. These designs are perfect for hobbyists who want to enjoy their passion without sacrificing valuable space. By integrating into existing furniture or wall setups, they maximize every inch of available area.
A smaller footprint doesn’t just save space—it also reduces building time and costs. With less track work and rolling stock needed, you can focus on creating a detailed and engaging layout. This approach is ideal for those who want to start small and expand over time.
Operational benefits are another major advantage. In a compact setup, every movement counts, making the experience more intense and rewarding. This design encourages thoughtful planning and adds depth to your operations.
Adaptability is a key feature of these setups. As your interests evolve, you can easily modernize or reconfigure your track plan. This flexibility ensures your project remains engaging for years to come.
Compared to traditional oval or continuous run setups, compact designs offer a more realistic feel despite their smaller size. They’re also beginner-friendly, with simpler benchwork and a focus on creativity over complexity.
Here’s a quick comparison of compact and traditional setups:
| Aspect | Compact Setup | Traditional Setup |
|---|---|---|
| Space Required | Minimal | Significant |
| Building Time | Shorter | Longer |
| Cost | Lower | Higher |
| Flexibility | High | Limited |
Whether you’re a beginner or an experienced hobbyist, a compact setup offers a practical and creative way to enjoy your passion. It’s a project that fits your life, not the other way around.
Design Inspirations from Real-Life Projects
Inspiration often comes from seeing how others bring their ideas to life. Over the years, I’ve been fascinated by the creativity and practicality of real-life projects. These designs not only showcase innovative solutions but also offer valuable lessons for anyone looking to build their own setup.
Free-Floating and Wall-Mounted Ideas
One of the most striking approaches I’ve seen is the use of free-floating shelves. Lance Mindheim’s design is a perfect example. His system securely attaches to the wall, creating a sleek and modern look. This approach maximizes space while keeping the layout accessible and functional.
Wall-mounted setups are another great option. They free up floor space and can be customized to fit any room. Whether you’re working with a small apartment or a dedicated hobby area, this design offers flexibility and style.
Using Cabinets and Bookcases as Bases
For those who prefer a more integrated look, cabinets and bookcases can serve as the foundation for your project. Eric White’s conversion of a bookcase into a layout is a brilliant example. It combines storage with functionality, making it a practical choice for any home.
John Landis took a similar approach, using a cabinet to create a compact yet detailed setup. Adding a shadowbox front or removable backdrop can enhance the visual appeal, making the train display even more engaging.
These inspirations can be adapted to fit any style or available space. Whether you choose a free-floating shelf or a repurposed bookcase, the key is to think creatively and make the most of your area. With careful planning, you can create a setup that’s both beautiful and functional.

Planning Your Track and Runaround Loop
Planning your track and runaround loop is a critical step in creating a functional and engaging setup. A well-thought-out track plan ensures smooth operations and enhances the overall experience. It’s not just about fitting everything into your space—it’s about making every inch count.
Determining the Correct Track Length
Accurate measurements are essential when planning your track. Start by considering the size of your rolling stock and locomotive. A common mistake is underestimating the space needed for a runaround loop. For example, a minimum radius of 18 inches ensures smooth turns and prevents derailments.
Use a simple formula to calculate the required length: measure the longest train and add extra space for maneuvering. This ensures your track accommodates all movements without crowding.
Configuring the Runaround for Smooth Operation
A runaround loop allows you to decouple and reposition your locomotive efficiently. To set it up, place points and headshunts strategically. This configuration ensures smooth switching operations and minimizes interference.
Here are some tips for a seamless setup:
- Ensure the headshunt is long enough to hold your locomotive.
- Place points where they’re easily accessible for maintenance.
- Test the loop with your longest train to confirm smooth operation.
“Taking the time to plan your track layout saves you from headaches later. A clear, workable design is worth the effort.”
Reflecting on my own experiences, I’ve learned that detailed planning prevents future issues. Whether you’re working with a small space or a larger area, a well-executed track plan ensures your project runs smoothly from start to finish.
Want to build your dream model railroad? Download my FREE guide

Privacy Policy: We hate SPAM and promise to keep your email address safe
Incorporating Scenic Elements for Realism
Adding realistic scenery can transform a simple setup into a captivating display. The right details bring depth and character to your layout, making it feel alive and immersive. Whether you’re working with a small space or a larger area, scenic elements are the heart of any engaging project.

Adding Backdrops and Shadowboxes
Backdrops and shadowboxes are excellent ways to enhance the realism of your design. A well-painted backdrop can create the illusion of distance, while a shadowbox adds depth and focus to specific scenes. Peter Waldraff’s technique of using wall-mounted, fold-down scenery is a brilliant example of this approach. It turns your layout into functional art that blends seamlessly with your living space.
Here are some practical tips for incorporating these elements:
- Use removable backdrops for easy updates and maintenance.
- Paint backdrops with soft gradients to mimic natural skies.
- Add shadowboxes to highlight key scenes like stations or industrial areas.
Low Relief Scenery and Detailing Tips
Low relief scenery is perfect for adding texture and detail without taking up too much space. This technique involves creating shallow, three-dimensional elements like hills, buildings, or trees. It’s a great way to add realism while keeping your track plan functional.
For realistic textures, try these methods:
- Use plaster or foam to sculpt natural landforms.
- Paint surfaces with layered colors for a weathered look.
- Add small details like grass, rocks, or signage to enhance the scene.
“The beauty of a well-detailed layout lies in the small touches. Every element tells a story.”
Balancing operational space with scenic detail is crucial. Too much clutter can hinder train movement, while too little can make the layout feel empty. Removable scenic pieces are a smart solution, allowing you to adjust and upgrade your project over time.
| Element | Purpose |
|---|---|
| Backdrop | Creates depth and sets the scene. |
| Shadowbox | Highlights specific areas with focus. |
| Low Relief | Adds texture without taking up space. |
| Removable Pieces | Simplifies maintenance and updates. |
With these techniques, you can create a layout that’s both visually stunning and operationally smooth. Let your creativity guide you, and enjoy the process of bringing your vision to life.
Essential Materials and Tools for Beginners
Starting a new project can feel overwhelming, but with the right tools, it’s easier than you think. Whether you’re building a small layout or a more detailed design, having the right materials is key. Here’s a guide to help you get started.
First, you’ll need a sturdy base. Dimensional lumber and foam insulation boards are excellent choices. They’re lightweight, easy to cut, and provide a solid foundation. Brackets and hardware are also essential for mounting your setup securely to the wall or a shelf.
- Screwdrivers and knives for precise cutting and assembly.
- A cutting board to protect your workspace.
- Foam insulation for creating realistic landforms.
- Brackets to ensure stability and durability.
Using a simple, cost-effective benchwork system saves time and money. It’s perfect for beginners who want to focus on the creative aspects of their project. Sturdy brackets and foam insulation also ensure your setup lasts for years.
When sourcing materials, check local hardware stores or online retailers for affordable options. Many beginners find that starting with basic tools and gradually adding more advanced equipment works best.
“The right tools and materials make the building process smoother and more enjoyable.”
Safety is another important consideration. Always wear protective gear like gloves and safety glasses when handling tools. Take your time to measure and cut accurately, ensuring a clean and professional finish.
Starting with the right supplies not only improves your build experience but also sets the stage for a successful layout. With these tips, you’ll be well on your way to creating a setup that’s both functional and visually appealing.
Step-by-Step Building Process
Building a train setup step-by-step ensures a smooth and enjoyable experience. Whether you’re a beginner or an experienced hobbyist, following a structured approach helps you create a functional and visually appealing layout. Let’s dive into the process, starting with the foundation and moving to the finishing touches.
Building the Benchwork and Installing Tracks
The first step is constructing the benchwork, which serves as the base for your project. Use dimensional lumber or foam insulation boards for a lightweight yet sturdy foundation. Secure the benchwork to wall studs or brackets for stability. This ensures your track stays level and durable over time.
Next, lay down the foam insulation to create a smooth surface for your track. Measure and mark the space carefully, ensuring proper spacing for switches and sidings. Use brackets to secure the foam and prevent shifting during operation.
When installing the tracks, start with the main line and work outward. Use a track plan to guide your placement, ensuring smooth curves and proper alignment. Test each section as you go to avoid issues later. A well-planned model railroad layout theme makes the entire process easier and more enjoyable.
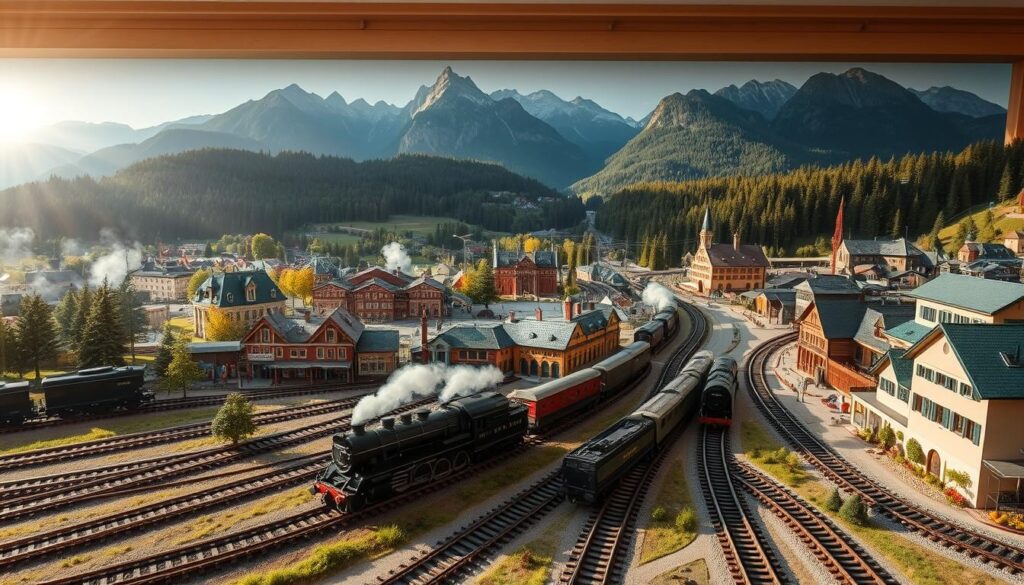
Seamlessly Integrating Scenery
Once the tracks are in place, it’s time to bring your layout to life with scenery. Start by adding a backdrop to create depth. A painted sky or landscape can transform your project into a realistic display. Use removable backdrops for easy updates and maintenance.
Add low relief scenery like hills, buildings, and trees to enhance the visual appeal. Use plaster or foam to sculpt natural landforms, and paint them with layered colors for a weathered look. Small details like grass, rocks, and signage add character and realism.
“The beauty of a well-detailed layout lies in the small touches. Every element tells a story.”
Finally, test your layout to ensure everything works smoothly. Make adjustments as needed, and enjoy the process of creating something unique. With careful planning and attention to detail, your setup will be a source of pride and joy for years to come.
Creating an Engaging Fiddleyard Operation
A well-planned fiddleyard can elevate the realism and functionality of any train setup. This dedicated area is essential for staging, regrouping, and turning around rolling stock. It’s a key part of the layout that ensures smooth operations and adds depth to your design.
The terminus-to-fiddleyard concept is a popular approach for compact setups. It involves a main station (terminus) connected to a hidden staging area (fiddleyard). This design allows for realistic operations like shunting and locomotive repositioning.
Understanding the Terminus-to-Fiddleyard Concept
In this setup, the terminus serves as the primary train station, while the fiddleyard acts as a staging area. Trains arrive at the terminus, unload, and then move to the fiddleyard for regrouping or storage. This creates a dynamic flow that mimics real-life railroad operations.
To make this work, ensure your fiddleyard has clear staging tracks and proper placement of points. This allows for smooth transitions between the operating area and the hidden staging zone.
Tips for Effective Shunting and Operation
Shunting is a critical part of any layout. It involves moving trains or cars to different tracks for loading, unloading, or storage. Here are some tips to make it more effective:
- Use a runaround loop to decouple and reposition your locomotive efficiently.
- Ensure the headshunt is long enough to hold your longest train.
- Test the setup with all your rolling stock to confirm smooth operations.
Having a dedicated area for turning trains around and regrouping rolling stock adds realism and operational interest. It’s a great way to simulate real-life railroad activities.
“A well-designed fiddleyard enhances both the realism and the fun factor of your layout.”
From my experience, careful planning in this area prevents future issues. Whether you’re working with a small space or a larger area, a well-executed fiddleyard ensures your project runs smoothly.
| Step | Purpose |
|---|---|
| Plan the Fiddleyard | Determine the size and location of the staging area. |
| Install Points | Ensure smooth transitions between tracks. |
| Test Operations | Confirm smooth movement of all rolling stock. |
| Add Scenery | Blend the fiddleyard seamlessly into the layout. |
With these tips, you can create a fiddleyard that’s both functional and visually appealing. Let your creativity guide you, and enjoy the process of bringing your vision to life.
Using Cabinet and Shelf Integration Techniques
Integrating a train setup with your home’s furniture is a game-changer for hobbyists. It’s a practical way to enjoy your passion without sacrificing valuable living space. By blending your layout with cabinets or shelves, you can create a functional and visually appealing display.
One inspiring example is John Landis’s G scale setup, which stretches across several cabinets. This design allows for a switching layout during winter months, making it both practical and engaging. Similarly, Eric White transformed a bookcase into an operating railroad, proving that everyday furniture can serve as the foundation for your project.
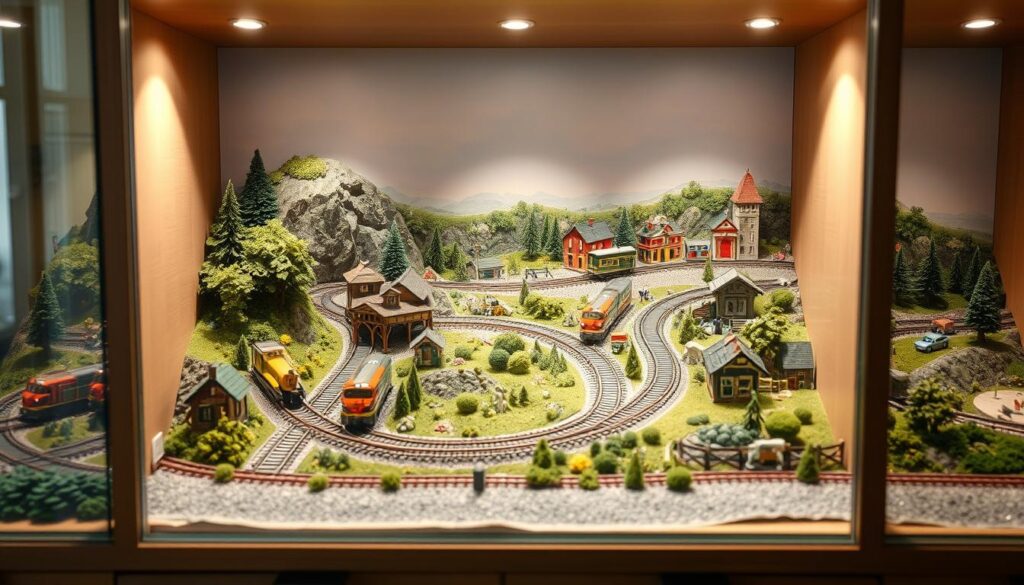
- Permanent Integration: Affix your layout directly to cabinets or shelves for a seamless look.
- Removable Benchwork: Use modular designs for seasonal flexibility or easy updates.
- Shadowboxes: Conceal fiddleyard areas or unsightly backing with creative scenery.
Keeping your display neat is essential. Avoid clutter around the track plan by organizing tools and materials in nearby drawers or cabinets. This ensures your layout remains the focal point.
“Blending your train setup with furniture is a smart way to maximize space and maintain a clean, organized look.”
When designing, balance aesthetic appeal with practical operation. Ensure your track is accessible for maintenance and that the layout fits seamlessly into your room. These techniques not only enhance your project but also make it a natural part of your home.
From my experience, integrating your train setup with furniture is a rewarding approach. It allows you to enjoy your hobby without compromising your living space. Whether you choose a permanent or modular design, the key is to think creatively and make the most of your area.
Creative False Backdrop and Wall Art Solutions
Transforming a blank wall into a dynamic display of trains and scenery is easier than you think. With a bit of creativity, you can turn a simple layout into a stunning piece of wall art. This approach not only saves space but also adds a unique touch to your home décor.
Designing Removable Backdrops
One of the most effective ways to enhance your design is by using removable backdrops. Joe Taylor’s approach to false backdrops is a great example. These backdrops hide unsightly areas while adding depth and realism to your project.
Here are some tips for creating removable backdrops:
- Use lightweight materials like foam board or plywood for easy handling.
- Paint the backdrop with soft gradients to mimic natural skies or landscapes.
- Attach the backdrop with Velcro or magnets for quick updates or seasonal changes.
This method allows you to experiment with different themes without committing to a permanent design.
Transforming a Layout Into Art
Peter Waldraff’s innovative wall art layout is a brilliant example of blending functionality with aesthetics. His fold-down setup reveals a working N scale loop, turning a mundane shelf into a captivating display.
To achieve a similar effect, consider these techniques:
- Integrate lighting to highlight key areas and add a dramatic touch.
- Use artistic finishes like epoxy or wrapping paper for quick scenic solutions.
- Design with flexibility in mind, allowing for future updates or theme changes.
These creative solutions not only enhance the visual appeal but also make your layout a conversation starter.
“The beauty of a well-designed layout lies in its ability to blend seamlessly into your living space while telling a story.”
From my experience, designing with flexibility and creativity opens up endless possibilities. Whether you’re working with a small space or a larger area, these techniques can help you create a project that’s both functional and visually stunning.
| Technique | Purpose |
|---|---|
| Removable Backdrops | Hide unsightly areas and add depth. |
| Lighting Integration | Highlight key areas and add drama. |
| Artistic Finishes | Enhance visual appeal with creative touches. |
| Flexible Design | Allow for seasonal updates or theme changes. |
With these ideas, you can push the boundaries of traditional train setups and create something truly unique. Let your creativity guide you, and enjoy the process of transforming your space into a work of art.
Modular Designs and Future Expansion Ideas
Modular designs are the secret to keeping your train setup fresh and adaptable. This approach allows you to add extra sections or switch themes as your interests evolve. For example, you could start with an oil refinery and later transform it into a quarry. The possibilities are endless.
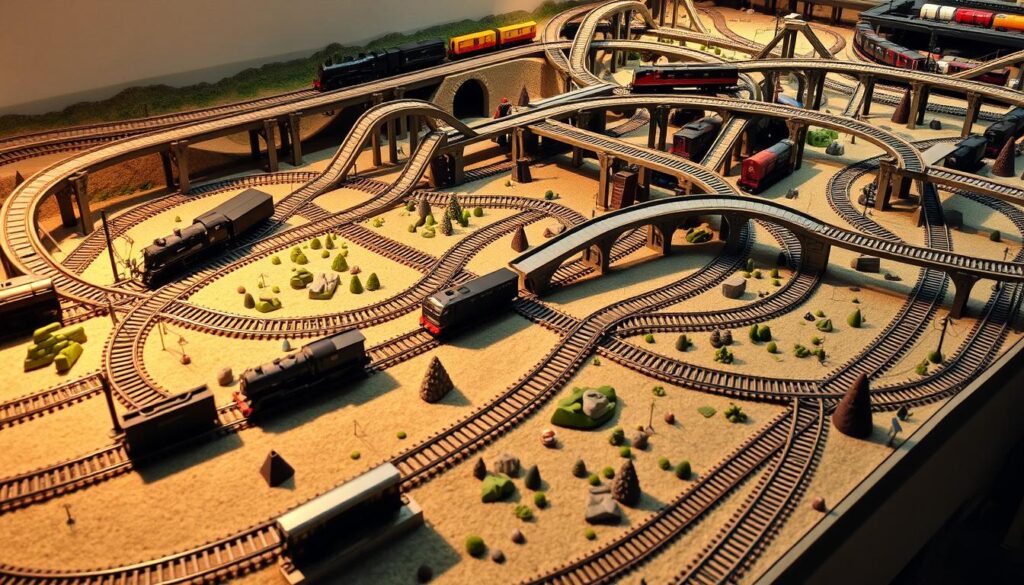
One of my favorite examples is the Olympia layout, which can change themes with minimal effort. This flexibility ensures your project remains engaging for years. Modular designs also make it easier to integrate new benchwork or track modules later.
Here are some practical tips for designing a modular layout:
- Use standardized connectors for easy assembly and disassembly.
- Plan your track layout with future expansions in mind.
- Keep benchwork lightweight and easy to modify.
Another benefit of modular designs is their ability to support both display and operational enhancements. You can add new scenery or switch industries without starting from scratch. This approach encourages creativity and ongoing improvement.
“A modular design ensures your layout grows with you, keeping the hobby fresh and exciting.”
From my experience, designing with flexibility in mind is key. Whether you’re working with a small space or a larger area, modular designs offer a practical and creative way to enjoy your passion. Let your imagination guide you, and enjoy the process of building something that evolves with you.
Operating Tips for Intense Layout Actions
Running a compact train setup requires precision and quick thinking to keep operations smooth. In a confined space, every movement counts, making the experience both challenging and rewarding. Whether you’re managing rapid train movements or switching cars, a well-planned track plan is essential.
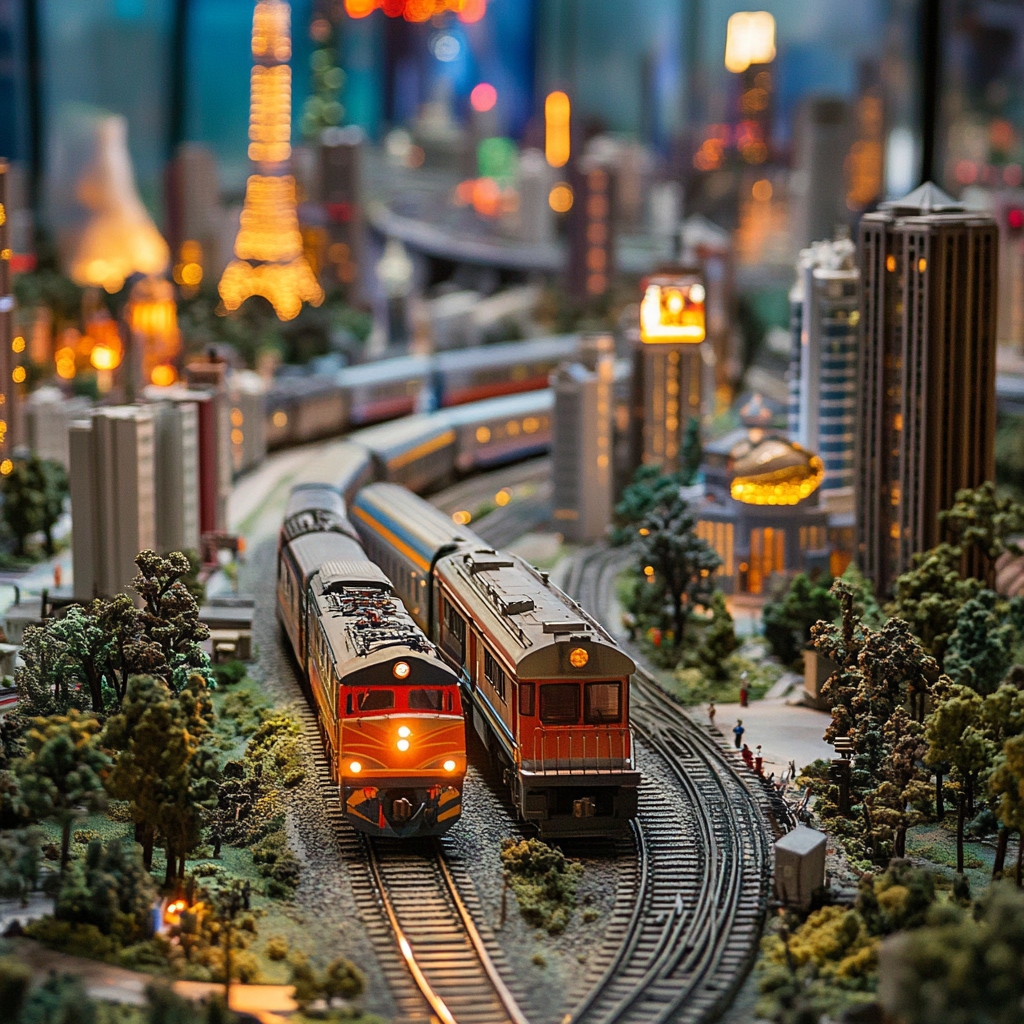
One of the most exciting aspects of a small layout is the intense pace of operations. Quick decoupling and shunting are key to keeping things running smoothly. I’ve found that using a runaround loop allows for efficient repositioning of the locomotive, especially in tight areas.
To avoid common pitfalls, always test your track setup with your longest train. Ensure that switches and sidings are placed strategically for easy access. Clear sight lines are also crucial for safe and efficient operation.
Here are some practical tips for managing rapid movements:
- Use a headshunt long enough to hold your locomotive.
- Keep tools like uncoupling picks nearby for quick adjustments.
- Practice switching sequences to build confidence and speed.
“The beauty of a well-designed layout lies in its ability to handle intense operations with ease.”
Over time, I’ve learned to challenge myself by increasing the complexity of my design. Adding more industries or creating intricate switching patterns keeps the hobby fresh and engaging. It’s a great way to test your skills and push the boundaries of what’s possible in a small space.
Remember, a well-executed track plan is the foundation of smooth operations. Take the time to plan carefully, and don’t be afraid to make adjustments as needed. With practice and patience, you’ll master the art of intense train movements and enjoy every moment of the process.
Real Stories: Quick-Build Micro Layouts
Sometimes, the most inspiring projects come together in the shortest time. John’s story of building the “No Excuses” micro layout in just one day is a testament to the creativity and efficiency that quick-build projects can bring to the hobby. His design proves that even a small space can host a functional and engaging layout.
Insights from a One-Day Build
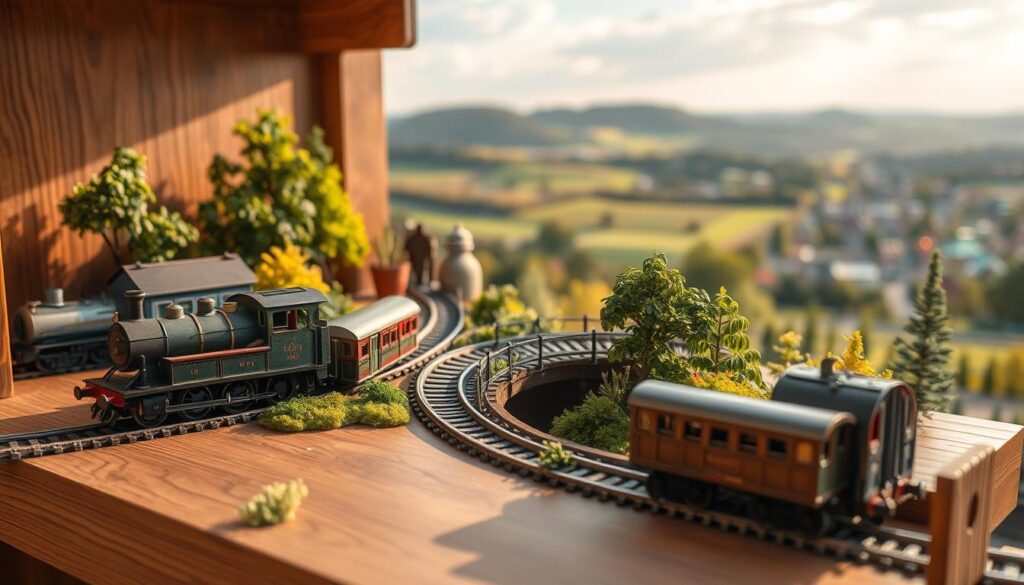
John’s approach was simple yet effective. He started with a narrow, 5-inch-wide board, perfect for a shunting puzzle. Using lightweight materials like foam insulation, he quickly laid down the track and secured it with brackets. The entire project was designed to fit into a small corner of his room, making it both practical and visually appealing.
One of the biggest challenges was ensuring smooth operation in such a confined area. John used a runaround loop to decouple and reposition his locomotive, a technique that added depth to the layout. Despite the tight space, the final result was a fully functional train setup that offered hours of operational fun.
“Building a micro layout in one day reminded me why I love this hobby. It’s about creating something meaningful, no matter the size.”
Reflecting on John’s story, I realized how quick-build projects can reignite your passion for the hobby. They’re a great way to experiment with new ideas without committing to a long-term project. Plus, they’re budget-friendly and manageable, making them perfect for beginners or anyone short on time.
If you’re looking for a fresh challenge, consider trying a micro layout. It’s a rewarding way to explore your creativity and enjoy the hobby in a new light. Whether you’re building in a shoebox or on a narrow board, the possibilities are endless.
Budget-Friendly Approaches to Model Railroad Planning
Building a budget-friendly train setup doesn’t mean compromising on quality or creativity. With a little planning and resourcefulness, you can create a stunning layout without breaking the bank. I’ve found that focusing on cost-effective materials and smart design choices can lead to impressive results.
One of the biggest advantages of a compact layout is the reduced need for materials. Shorter track circuits and fewer rolling stock items mean lower costs. For example, using modular designs allows you to start small and expand over time as your budget allows. This approach keeps the initial investment manageable while leaving room for future growth.
Repurposing home furniture is another great way to save money. I’ve used bookshelves and cabinets as the base for my projects, turning them into functional and stylish displays. Local hardware stores are also a treasure trove of affordable components like foam insulation and dimensional lumber, which are perfect for building sturdy benchwork.
Here are some practical tips for keeping costs low:
- Start with a simple track plan and add complexity over time.
- Use inexpensive materials like foam board for scenery.
- Repurpose existing furniture or household items for your layout.
- Shop for second-hand trains and accessories to save money.
Even on a budget, you can achieve high-quality results. I’ve built layouts that are both visually appealing and operationally engaging using these cost-saving measures. The key is to focus on creativity and attention to detail rather than expensive modeling kits.
“A budget-friendly layout can be just as rewarding as a high-end one. It’s all about how you use the resources you have.”
Reflecting on my own experiences, I’ve learned that starting small and expanding gradually is the best approach. This not only keeps costs down but also allows you to refine your design as you go. Over time, you can add more scenery, rolling stock, and operational features to enhance your project.
Creativity and resourcefulness are as valuable as expensive materials when planning your layout. By thinking outside the box and making the most of what you have, you can create a train setup that’s both affordable and impressive. Let your imagination guide you, and enjoy the process of building something unique.
Build Your Shelf Model Railway Layout Today
Every great project starts with a simple idea and a willingness to explore. Throughout this guide, we’ve covered the key benefits of compact train setups, from space-saving designs to creative inspirations. Whether you’re working with a small space or a larger area, a well-planned layout can transform any room into a dynamic display.
I encourage you to experiment with different materials, techniques, and operational ideas. This hobby is about making it your own. Over the years, building these projects has enriched my daily life and sparked endless creativity. It’s a rewarding journey that combines practice with passion.
I’d love to hear your stories and tips. Let’s build a community where we can share ideas and inspire each other. Remember, every masterpiece begins with a single step. So, grab your tools, start small, and let your imagination lead the way.
Want to build your dream model railroad? Download my FREE guide

Privacy Policy: We hate SPAM and promise to keep your email address safe
FAQ
What are the key benefits of a shelf layout?
A shelf layout saves space, making it perfect for smaller rooms. It’s also easier to build and maintain compared to larger setups. Plus, it allows for creative use of vertical space, like wall-mounted designs.
How do I plan the track for my layout?
Start by measuring your available area and sketching a track plan. Consider the length of your locomotive and cars to ensure smooth operation. A runaround loop can add flexibility to your design.
What materials do I need to start building?
You’ll need basic tools like a saw, glue, and track cutters. Materials include plywood for the base, track pieces, and scenery supplies like foam and paint. Start simple and expand as you gain experience.
How can I make my layout look more realistic?
Add scenic elements like backdrops, low-relief buildings, and detailed landscaping. Use shadowboxes to create depth and focus on small details like grass, trees, and weathering on structures.
Can I expand my layout later?
Absolutely! Modular designs allow for easy expansion. You can add new sections or integrate existing ones into a larger setup. Plan for future growth when designing your initial layout.
What’s the best way to operate a fiddleyard?
A fiddleyard is great for managing trains off the main layout. Use it for storage, switching, and staging. Keep it organized and accessible to enhance your operating experience.
How do I create a budget-friendly layout?
Start small and focus on essentials. Use recycled materials for scenery and look for deals on tracks and locomotives. Prioritize what matters most to you and build gradually over time.
What’s the easiest way to build a quick micro layout?
Choose a simple track plan and focus on a single theme. Use pre-made scenery kits and keep the design compact. A one-day build is possible with careful planning and minimal detailing.

