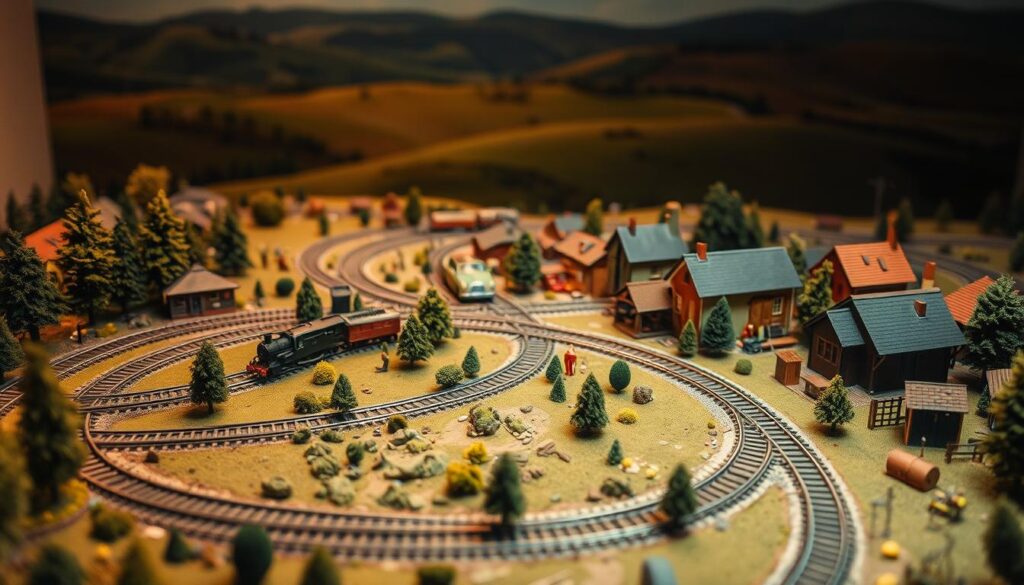
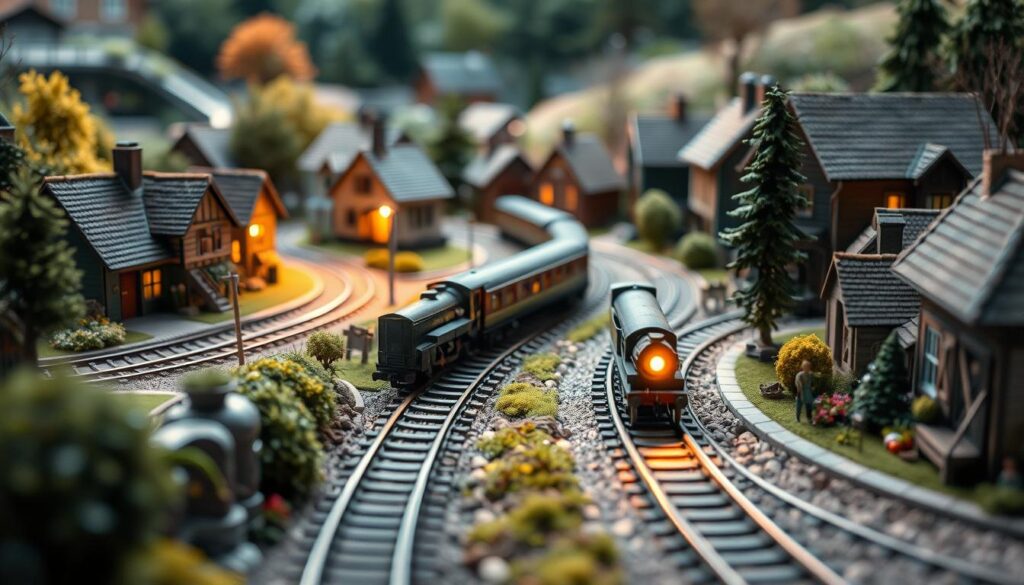
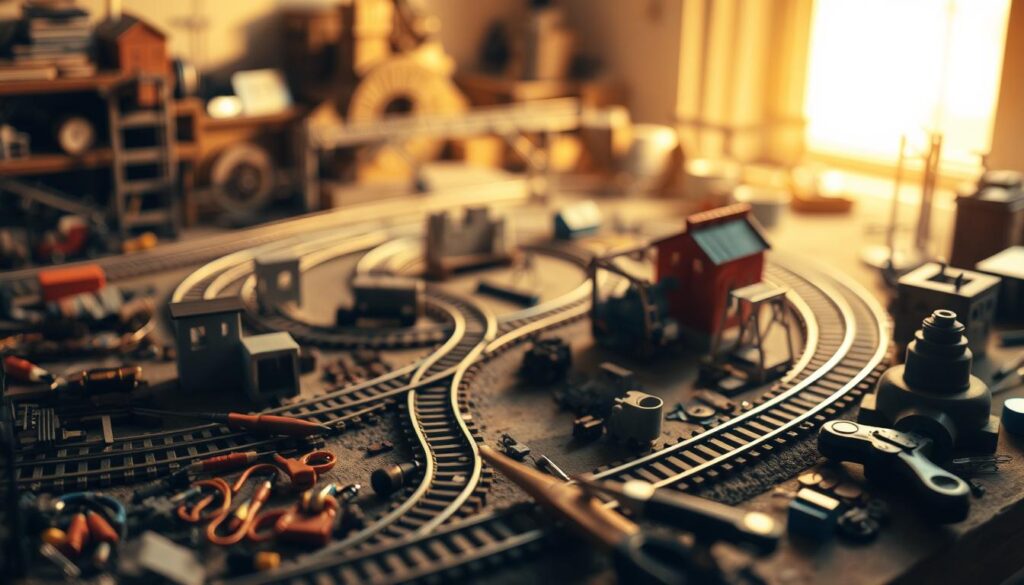
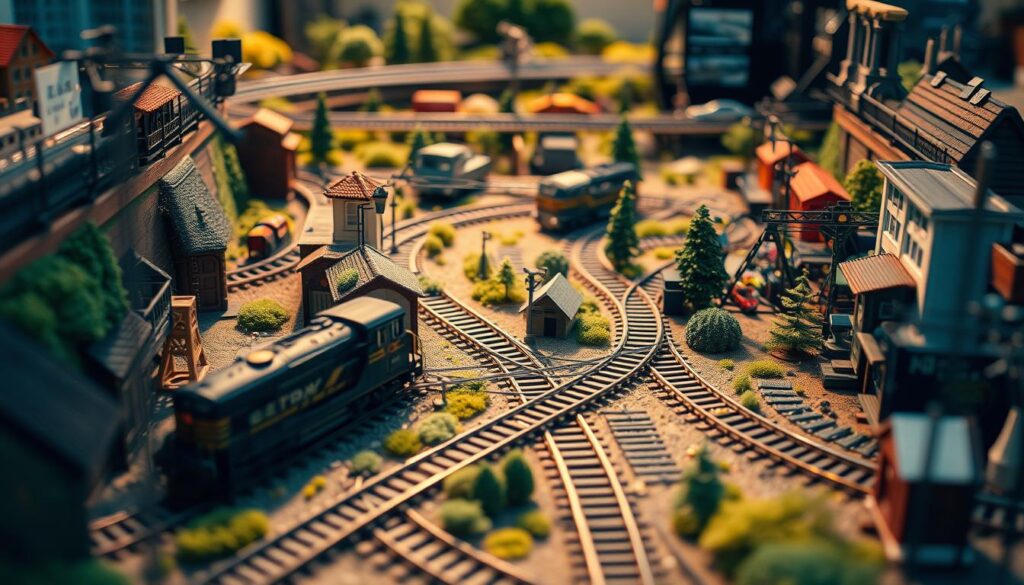
Did you know that a fully functional train scene can fit into a space as small as 4 square feet? I was just as amazed when I discovered how well compact designs can work. My journey into creating micro model railway layouts began with a simple idea: to maximize operation in a limited area.
Using tools like SCARM track planning software, I experimented with tiny yet highly functional designs. One of my favorites is a 4′ x 2′ N-scale track plan. Despite its small size, it packs a lot of operating potential. The creative use of space allows for intricate scenes and smooth train movements.
In this article, I’ll share practical tips and tricks to help you create your own impressive small-scale layouts. Whether you’re working with a modest area or just love the challenge of compact designs, you’ll find inspiration here.
Want to build your dream model railroad? Download my FREE guide

Privacy Policy: We hate SPAM and promise to keep your email address safe
Key Takeaways
- Compact layouts can be highly functional and visually appealing.
- Tools like SCARM software help in planning small-scale designs.
- Creative use of space maximizes operation in limited areas.
- Balancing aesthetics and functionality is key to success.
- Passion and planning turn small spaces into impressive scenes.
Getting Started: Selecting Your Locale and Scale
Creating a small yet detailed train scene starts with choosing the right setting and scale. For example, I had a lot of fun with my Swiss model railway layout build.
The locale and era you pick will shape the entire design, from the scenery to the type of trains you’ll use. For my project, I chose Cass, West Virginia, in 1955, a historical logging area. This decision added authenticity and depth to the scene.
When selecting a locale, consider its historical context. A well-chosen setting not only enhances the aesthetic but also provides practical operating possibilities. For example, a logging area like Cass allows for shunting operations and a working yard. These details bring the scene to life.
Choosing Your Locale and Era
Your locale and era set the tone for the entire project. I chose Cass because of its rich history and the availability of Shay locomotives. These unique trains were perfect for my design. The 1950s era also allowed me to incorporate period-specific details, like vintage buildings and vehicles.
Think about the story you want to tell. A historical setting like Cass offers a narrative that guides your design choices. Whether it’s a bustling city or a quiet countryside, the locale should inspire creativity and realism.
Selecting the Right Scale and Gauge
Scale and gauge are crucial for maintaining realism and operational integrity. I opted for HO scale because it allowed me to model intricate details like Shay locomotives. The 1:87 ratio strikes a balance between size and detail, making it ideal for small spaces.
Here’s a quick comparison of popular scales and gauges:
| Scale | Ratio | Gauge | Best For |
|---|---|---|---|
| HO | 1:87 | 16.5 mm | Detailed scenes in small spaces |
| N | 1:160 | 9 mm | Larger layouts in compact areas |
| Z | 1:220 | 6.5 mm | Ultra-small designs |
Choosing the right scale ensures your project is both visually appealing and functional. Consider the space you have and the level of detail you want to achieve. With careful planning, even a small layout can capture the essence of a real railroad.
Planning Your Micro Layout Design
Planning a compact train scene starts with a clear vision of the story you want to tell. For my project, I drew inspiration from the Cass lumber line, a historic logging area in West Virginia. This setting provided a rich narrative and practical operating possibilities.

I began by sketching the key elements of my scene. This included the track configuration, buildings, and natural features like mountain backdrops. Defining these details early helped me streamline the design for limited space.
Defining Your Scene and Operating Potential
To create a realistic layout, I focused on operating scenarios like shunting puzzles and precise rail movements. These elements add depth and keep the scene engaging. For example, I included a log dump into a mill pond, a feature inspired by the Cass line. This didn’t require too many materials for the smaller N gauge railroad layout.
Visual cues like mountain backdrops are essential for adding depth to a small layout. They create the illusion of a larger world despite the miniature size. I also planned a backstage holding track for changing consists and loading logs.
Thoughtful planning ensures every element serves a purpose. From the track patterns to the scenery, each detail contributes to the overall story and functionality of the layout. This approach maximizes both aesthetics and operating fun.
Inspiring Micro Model Railway Layouts
Exploring compact train designs opened my eyes to the creativity of small-scale projects. Real-world examples from accomplished modelers show how tiny layouts can achieve impressive results. These projects prove that size doesn’t limit functionality or detail.

Real-World Examples in N, Z, and T Scales
One standout example is the “Ultra Small 4′ x 2′ N-scale Track Plan.” Despite its compact size, this layout includes intricate track arrangements and detailed scenery. It’s a perfect example of how careful planning can maximize space.
Marklin’s Z-scale layouts are another source of inspiration. These designs use innovative track planning to create realistic scenes in even smaller footprints. The attention to detail, from buildings to natural features, is remarkable.
Milen Peev’s T gauge project takes compact design to the next level. This ultra-small layout demonstrates how creativity can turn minimal space into a captivating scene. The diorama-like presentation adds depth and realism.
Key Features of Compact Layouts
- Innovative track planning to maximize functionality.
- Detailed scenery that enhances realism.
- Operational elements like shunting and yard functions.
- Creative use of space to tell a story.
These real-world projects have been a rich source of inspiration for my own work. They show how thinking outside the box can lead to stunning results, even in the smallest spaces. Whether you’re working with N, Z, or T scale, these examples prove that creativity knows no bounds.
Step by Step Guide: Building Your Micro Layout
Building a compact train scene is easier than you think with the right steps. I’ll walk you through the process, from constructing the baseboard to adding the final scenic details. This structured approach ensures your project is both manageable and enjoyable.
Constructing the Baseboard and Laying Track
Start with a solid baseboard. I used plywood cut into a 2ft square, shaped into an octagonal base for added stability. This provides a sturdy foundation for your layout. Next, lay the track carefully. I chose Peco SL-400 flexible track for its ease of use and reliability.
Ensure the track connections are secure for smooth operations. I recommend using four to six power feed wires to aid conductivity. This step is crucial for maintaining consistent power throughout the layout.

Adding Detail: Wiring, Point Motors, and Scenery
Wiring and point motors add realism to your layout. I used Deluxe Materials AD75 ballast glue to secure the track and ensure durability. Point motors were installed to automate track switches, enhancing operational fun.
Scenery brings your layout to life. I combined scratch-built elements with ready-made kits for a balanced look. Materials like static grass and flock were used to create texture. Here’s a quick comparison of materials I found effective:
| Material | Use | Effect |
|---|---|---|
| Static Grass | Ground Cover | Adds realism |
| Flock | Texture | Enhances detail |
| DAS Air Dry Clay | Scenic Elements | Customizable shapes |
Finally, consider adding buildings and figures to complete the scene. I used 3D-printed structures from MS Models for a rustic look. These details make your layout visually engaging and true to life.
With careful planning and step-by-step execution, you can bring your compact train scene from concept to reality. This approach makes the project fun and rewarding, even in ultra-small spaces.
Overcoming Challenges in Ultra-Small Spaces
Working with ultra-small spaces can feel like solving a puzzle, but the results are worth the effort. Limited area forces you to think creatively, pushing the boundaries of what’s possible. I’ve faced my fair share of challenges, but each one taught me valuable lessons. The good news is that you can use a smaller model train table.

Creative Space-Saving Techniques
One of the biggest hurdles is fitting expansive scenes into a tiny footprint. Low-relief modeling became my go-to solution. By using flat structures that only show the front, I saved space while maintaining realism. Picture backdrops also helped create the illusion of depth without taking up valuable area.
Another trick I used was integrating water features subtly. A small pond or stream can add charm without overwhelming the scene. I carefully planned its placement to ensure it complemented the overall design.
Wiring and track placement were tricky in such confined areas. I opted for flexible track pieces and used point motors to automate switches. This not only saved space but also enhanced operational fun.
- Low-relief structures maximize space without sacrificing detail.
- Picture backdrops create depth in ultra-small layouts.
- Subtle water features add charm without overwhelming the scene.
- Flexible track and point motors streamline operations in tight spaces.
Adapting realistic details to a small scale was another challenge. I focused on key elements that told the story of my scene. For example, a single detailed building or a carefully placed figure can make a big impact.
If you’re tackling a similar project, remember that creativity is your best tool. Every inch of space is an opportunity to tell a story. With thoughtful planning, even the smallest layout can feel expansive and engaging.
Build Your Micro Scale Train Layout Today
Crafting a detailed miniature world has been a rewarding journey filled with creativity and challenges. From selecting the perfect locale and scale to planning every inch of the track, this project taught me the value of precision and imagination. Balancing functionality with aesthetics was key to creating a scene that feels alive.
I faced hurdles along the way, like fitting expansive details into a tiny space. But with creative solutions like low-relief structures and subtle water features, I turned limitations into opportunities. The result is a fully operational diorama that captures the essence of a real railroad.
I encourage you to embrace the challenge and experiment with your own designs. The process is as rewarding as the final result. With passion and creativity, you can transform any space into a captivating miniature world.
Want to build your dream model railroad? Download my FREE guide

Privacy Policy: We hate SPAM and promise to keep your email address safe
FAQ
How do I choose the right locale and era for my project?
Start by thinking about what inspires you. Do you love mountain scenes, bustling yards, or quiet rural areas? Pick an era that matches your interest, whether it’s modern trains or vintage steam engines. This will help you create a scene that feels authentic and personal.
What scale and gauge should I use for a small space?
For tight spaces, I recommend N, Z, or T scales. These sizes allow you to build detailed scenes without needing a lot of room. Gauge is also important—make sure it matches your chosen scale for smooth operation.
How can I plan a scene with good operating potential?
Focus on creating a layout that offers variety. Include elements like shunting areas, water features, or a small yard. This keeps the scene dynamic and fun to operate, even in a compact design.
What are some creative ways to save space in my layout?
Use vertical space by adding hills or elevated tracks. Compact turnouts and clever track arrangements can also maximize your area. Don’t forget to keep the scene simple—too much detail can clutter a small space.
How do I add detail without overwhelming my project?
Start with the basics like wiring and point motors, then gradually add scenery. Use small, high-quality details like trees, buildings, or water effects. Less is often more in a small layout.
What are some real-world examples of successful small layouts?
Many hobbyists have created stunning scenes in N, Z, and T scales. Look for inspiration online or in magazines. These examples often show how to balance detail and space effectively.
What’s the best way to construct a baseboard and lay track?
Begin with a sturdy baseboard that fits your space. Plan your track layout carefully, ensuring smooth curves and proper alignment. Use flexible track for tight spaces and secure it firmly to avoid issues later.

