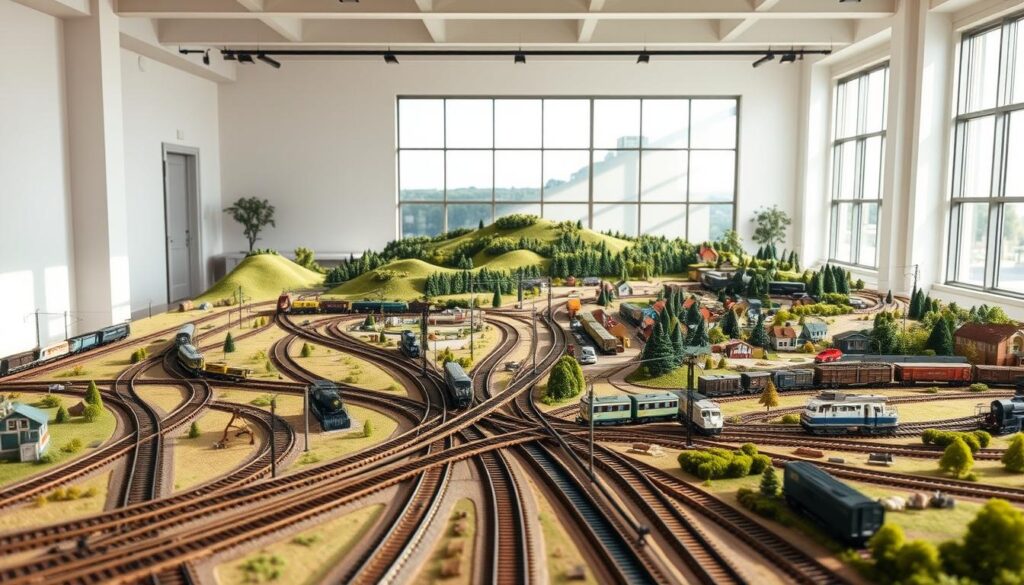
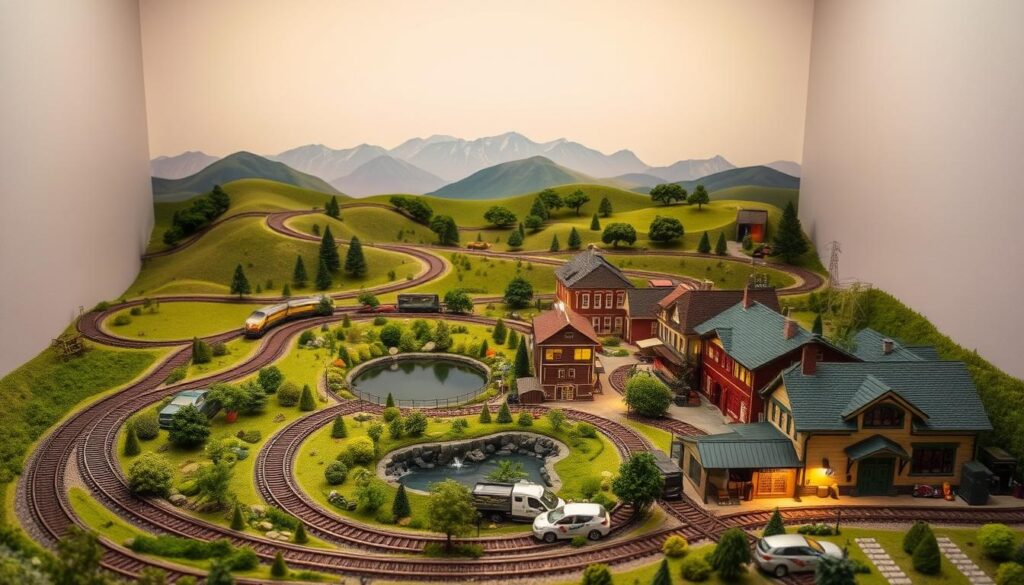
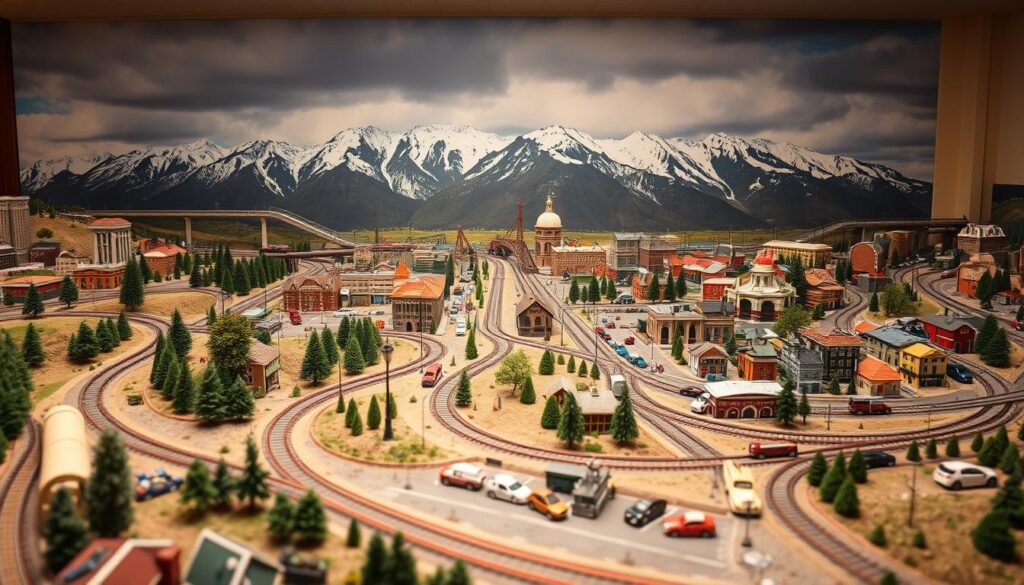
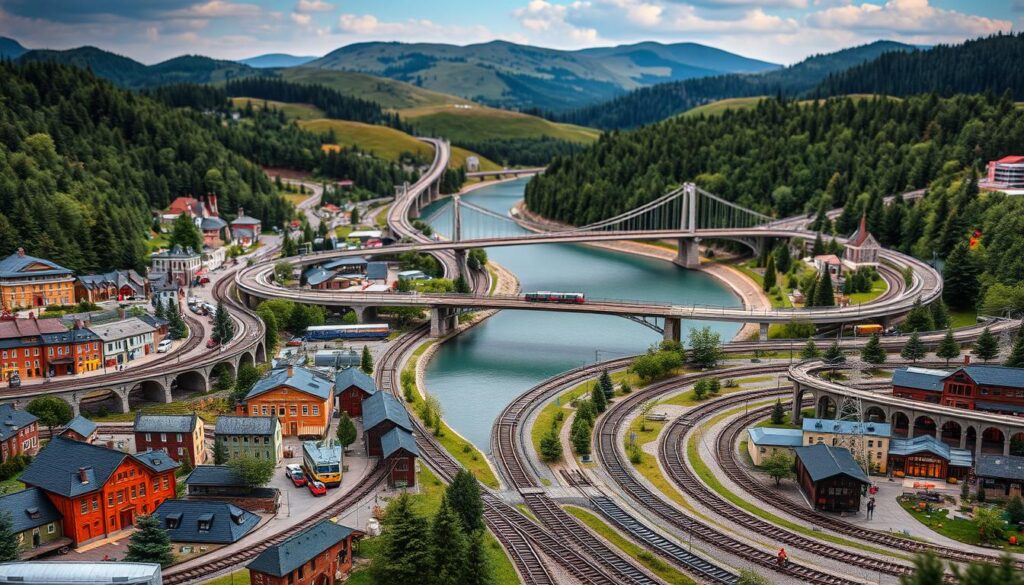
Did you know that over 70% of model railroad enthusiasts start with a simple layout? Creating a detailed and functional model railway doesn’t have to be overwhelming. With the right tools and guidance, you find easy HO scale train layouts to get started.
In this guide, I’ll walk you through easy, ready-to-build solutions like the Bachmann E-Z Track system. This system features Gray Roadbed and Code 100 Nickel Silver Rails, making it a perfect choice for beginners and experienced hobbyists alike.
Model railroading has been my passion for years, and I’ve seen how off-the-shelf layouts can save time and effort. You’ll learn how to plan your space, choose the right track options, add scenic details, and install control systems like DCC.
My approach is friendly and detailed, perfect for anyone ready to get started on their railway journey.
Want to build your dream model railroad? Download my FREE guide

Privacy Policy: We hate SPAM and promise to keep your email address safe
Key Takeaways
- Start with a simple layout to build confidence and skills.
- The Bachmann E-Z Track system is a reliable and beginner-friendly option.
- Plan your space carefully to maximize your design potential.
- Incorporate scenic details to enhance the realism of your layout.
- Use DCC control systems for smoother operation and flexibility.
- Off-the-shelf solutions save time and simplify the building process.
- Enjoy the journey of creating a unique and personalized model railway.
Getting Started with HO Scale Train Layouts
Model railroading is a rewarding hobby that combines creativity and precision. I started with OO gauge model railway layouts, since that’s where my passion was. Whether you’re a beginner or an experienced railroader, understanding the basics is the first step to success. Let’s dive into the essentials and explore how to get started.
Understanding the Basics of HO Scale
HO scale is one of the most popular choices for modelers. With a ratio of 1:87.1, it’s small enough to fit in most spaces but detailed enough to create realistic scenes. This scale offers a wide range of products, from tracks to locomotives, making it ideal for beginners and experts alike.
Key terms to know include:
- Layout: The overall design of your model railroad.
- Track: The rails and roadbed that guide your trains.
- Switch: A mechanism that allows trains to change tracks.
Understanding these terms will help you plan your project more effectively. For example, using Code 100 rails ensures compatibility with most rolling stock, while DCC systems provide smoother control over multiple trains.
My Personal Journey in Model Railroading
When I first started, I was overwhelmed by the options. I didn’t know where to begin, but I quickly learned that starting small was the best approach. My first layout was a simple loop with a few switches, but it taught me valuable lessons about design and operation.
One of my favorite resources was the SCARM online database. Projects like Rob’s “Fairplay Depot” and Alexander’s “Bov Station” inspired me to experiment with different ideas. These examples showed me how to maximize space and incorporate realistic details.
My early challenges turned into creative opportunities. I discovered that even small layouts can be functional and visually stunning. By focusing on the basics, I built a foundation that allowed me to tackle more complex designs later on.
If you’re just starting, remember that every great layout begins with a single track. Take your time, enjoy the process, and don’t be afraid to make mistakes. They’re all part of the journey.
Planning Your Model Railway Space
Planning your model railway space is the foundation of a successful project. Start by assessing the area you have available. Whether it’s a spare room, basement, or even a corner of your living space, knowing your dimensions is crucial.
Measure the length, width, and height of your chosen area. This helps you create a track plan that fits perfectly. For example, Rob’s “Fairplay Depot” from the SCARM database uses a 6′ x 3′ space effectively, maximizing every inch for operational and scenic zones.

When designing your layout, think about both functionality and aesthetics. Plan for switches, loops, and sidings to add variety to your operations. Scenic elements like stations, yards, and natural features can bring your model to life.
Here are some practical tips to get started:
- Use graph paper or software like SCARM to sketch your ideas.
- Leave enough room for future expansions, especially if you’re creating a modular plan.
- Consider the placement of power sources and DCC systems for smooth operation.
Remember, a well-planned layout not only looks great but also enhances your enjoyment of the hobby. Take your time, experiment with ideas, and create a space that reflects your vision.
Selecting the Right Layout for Your Room
Choosing the perfect setup for your model railway starts with understanding your space and budget. The size of your room and your financial plan will shape every decision, from the type of track to the scenic details you include.
Start by measuring your available area. Whether it’s a small corner or a dedicated room, knowing the dimensions helps you create a track plan that fits perfectly. For example, a 4×8-foot space is ideal for a compact yet detailed setup.

Budgeting is equally important. Components like tracks, switches, and DCC systems can add up quickly. I recommend starting with a basic loop and expanding as your budget allows. This approach keeps costs manageable while letting you enjoy the process.
Here are some tips to help you get started:
- Use graph paper or software to sketch your ideas before committing.
- Opt for modular designs if you need flexibility in a multi-use room.
- Prioritize essential elements like power sources and control systems.
Balancing space and creativity can be challenging, but it’s also an opportunity to design a unique setup. With careful planning, you can create a layout that’s both functional and visually stunning.
Understanding Scale, Track Options, and Layout Dimensions
When diving into HO model railroading, understanding the relationship between scale, track options, and layout dimensions is key to success. These elements form the foundation of your project, ensuring it’s both functional and visually appealing. Whether you’re a beginner or an experienced railroader, getting these details right will make your setup stand out.

Exploring Different Track Types and Codes
Choosing the right track is one of the most important decisions in your project. Tracks come in various types and codes, each suited for different needs. For example, Code 100 rails are thicker and more durable, making them ideal for beginners. On the other hand, Code 83 rails are finer and better for detailed, realistic setups.
Here’s a quick comparison of common track types:
| Track Type | Code | Best Use |
|---|---|---|
| Nickel Silver | 100 | Beginner-friendly, durable |
| Steel | 83 | Detailed, realistic setups |
| Brass | 70 | Vintage models, specialized projects |
Understanding these options helps you select the right track for your goals. For instance, if you’re building a freight yard, Code 100 might be the best choice for its durability.
Planning Layout Dimensions and Operational Areas
Your layout’s size and design directly impact its functionality. Start by measuring your available space and sketching a track plan. This ensures you have enough room for switches, loops, and scenic elements like stations or yards.
“A well-planned layout not only looks great but also enhances your enjoyment of the hobby.”
Here are some tips for planning:
- Use graph paper or software to visualize your ideas.
- Leave space for future expansions, especially if you’re using a modular design.
- Consider the placement of power sources and DCC systems for smooth operation.
For example, a 4×8-foot space is perfect for a compact yet detailed setup. By carefully planning your dimensions, you can create a layout that’s both functional and visually stunning.
Want to build your dream model railroad? Download my FREE guide

Privacy Policy: We hate SPAM and promise to keep your email address safe
Designing a Functional Model Train Layout
Designing a functional model railway theme requires careful planning and attention to detail. A well-thought-out track plan ensures smooth operations and enhances the overall experience. Whether you’re a beginner or an experienced railroader, focusing on functionality and realism will make your project stand out.
Creating a Clear Track Plan and Incorporating Switches
Start by drafting a clear track plan that details every turn and junction. This helps you visualize the flow of your layout and ensures all components fit seamlessly. Switches are essential for adding variety and flexibility to your operations. Place them strategically to allow trains to change tracks without disrupting the flow.

For example, a well-placed switch can create a passing siding, allowing one train to wait while another passes. This adds realism and functionality to your design. Remember to leave enough space around switches for smooth operation and maintenance.
Integrating Yard and Station Features
Yards and stations are the heart of any functional layout. They provide areas for trains to load, unload, and stage. Incorporate sidings and staging areas to simulate real-world operations. A freight yard, for instance, can include multiple tracks for sorting and storing cars.
Stations add a touch of realism and serve as focal points for your scenes. Include platforms, ticket booths, and other details to bring them to life. Balancing these features with your track design ensures both functionality and visual appeal.
Here are some tips to help you get started:
- Use graph paper or software to sketch your ideas before building.
- Ensure proper spacing for switches and turnouts to avoid operational issues.
- Plan for power sources and DCC systems to keep your layout running smoothly.
By focusing on these elements, you can create a layout that’s both functional and visually stunning. Take your time, experiment with ideas, and enjoy the process of bringing your model railway to life.
Utilizing Expert Advice and Online Resources
One of the best ways to improve your model railroad skills is by learning from experts and online resources. When I first started, I felt overwhelmed by the sheer number of options. But by tapping into the knowledge of experienced modelers and using tools like SCARM, I was able to refine my designs and avoid common mistakes.

Learning from SCARM Projects and Designs
SCARM’s online database has been a game-changer for me. It features downloadable layout plans and 3D/2D views that make it easy to visualize your project. For example, Rob’s “Fairplay Depot” and Alexander’s “Bov Station” are two designs that inspired me to experiment with different ideas. These projects showed me how to maximize space and incorporate realistic details.
Using SCARM’s 2D and 3D editors, I was able to test my ideas before committing to a final plan. This saved me time and helped me avoid costly errors. If you’re just starting, I highly recommend exploring SCARM’s tools to bring your vision to life.
“Learning from existing plans can help you avoid common pitfalls and refine your designs.”
Online forums and databases are also invaluable resources. I regularly visit these platforms to get feedback on my designs and learn new techniques. Whether you’re planning a simple loop or a complex freight yard, there’s always something new to discover.
Here are some tips to make the most of these resources:
- Start with tested projects from credible sources to build confidence.
- Use SCARM’s editors to visualize your layout before building.
- Join online communities to share ideas and get expert advice.
By leveraging expert advice and online tools, you can create a layout that’s both functional and visually stunning. Take your time, explore different ideas, and enjoy the process of bringing your model railroad to life.
Step-by-Step Guide to Building Your HO Layout
Building a model railroad layout is an exciting journey that combines creativity and precision. Whether you’re a beginner or an experienced railroader, following a structured approach ensures success. Let’s break down the process into manageable steps, from planning to installation.
Developing Your Track and Scenic Elements
Start by creating a detailed track plan. This is the foundation of your project. Use graph paper or software like SCARM to sketch your ideas. A well-thought-out plan ensures smooth operations and avoids costly mistakes.
Next, lay down your track. Choose the right code for your needs. For example, Code 100 rails are durable and beginner-friendly, while Code 83 offers a more realistic look. Secure the track with adhesives or nails, ensuring proper alignment to prevent derailments.
Scenic elements bring your layout to life. Add bridges, tunnels, and stations to create depth and realism. Use foam insulation board for terrain, as it’s lightweight and easy to shape. Paint and texture the surface to mimic natural landscapes.
Installing DCC, Power, and Control Systems
Powering your layout is crucial for smooth operation. Digital Command Control (DCC) systems allow you to control multiple trains independently. This adds flexibility and realism to your setup.
Here’s a comparison of common power systems:
| System Type | Best Use |
|---|---|
| DCC | Multi-train control, advanced layouts |
| DC | Simple layouts, single-train operation |
Wiring can be intimidating, but it’s manageable with proper planning. Use toggle switches to isolate sections of the track for troubleshooting. Label all wires to avoid confusion during installation.
Throughout my own projects, I’ve learned the importance of patience and planning. Take your time, test each component, and enjoy the process. A well-built layout is not only functional but also a reflection of your creativity and dedication.
Incorporating Realistic Scenes and Scenic Details
Adding realistic scenes to your model railroad can transform it from a simple track to a captivating world. The right details bring your layout to life, making it more engaging and visually stunning. Whether you’re creating a bustling city or a serene countryside, the key is in the details.
Start by planning your track and scenic elements. Think about how each piece fits into the overall design. For example, a bridge can add depth, while a tunnel creates mystery. These elements not only enhance the look but also add operational variety.
Want to build your dream model railroad? Download my FREE guide

Privacy Policy: We hate SPAM and promise to keep your email address safe
Adding Bridges, Tunnels, and Reverse Loops
Bridges and tunnels are more than just decorative pieces. They serve functional purposes in your layout. A well-placed bridge can span a river or valley, adding a dramatic touch. Tunnels, on the other hand, can hide track sections, creating a sense of continuity.
Reverse loops are another great way to add variety. They allow trains to change direction without stopping, making your layout more dynamic. For instance, Rob’s “Fairplay Depot” from the SCARM database uses multiple loops to create a realistic freight yard.
Here are some tips for incorporating these elements:
- Use foam insulation board to create terrain for bridges and tunnels.
- Plan the placement of reverse loops to avoid operational issues.
- Add scenic details like rocks and vegetation to enhance realism.
Careful placement of these features can make a big difference. For example, placing a tunnel under a mountain adds depth, while a bridge over a river creates a focal point. These small touches can elevate your project to the next level.
“Realistic scenes not only enhance the visual appeal but also tell a story, making your layout more immersive.”
Don’t be afraid to get creative. Customize each scene to reflect a unique prototype. Whether it’s a bustling station or a quiet countryside, the details matter. With careful planning and a bit of imagination, you can create a layout that’s both functional and visually stunning.
Tips and Tricks from an Experienced Railroader
Over the years, I’ve discovered that small adjustments can make a big difference in model railroading. Whether you’re troubleshooting a tricky track issue or enhancing the visual appeal of your layout, these tips will help you refine your project.
One common challenge is ensuring smooth operation. Misaligned tracks can cause derailments, so always use a straightedge or laser level during installation. Secure joints with rail joiners or soldering to avoid gaps. These steps ensure your trains run seamlessly.
Adding scenic details can transform your layout. Ballast not only enhances realism but also stabilizes the track. Techniques like those demonstrated by Martin Tarnröt can make a big impact. Use foam insulation board for terrain and paint it to mimic natural landscapes.
Here are some quick tips to elevate your project:
- Test your track with a locomotive after installation to identify issues.
- Use toggle switches to isolate sections for troubleshooting.
- Label all wires to avoid confusion during power system installation.
“Every small decision, from track alignment to scenic details, contributes to the overall success of your project.”
Minor modifications can yield major improvements. For example, adding a reverse loop can make your layout more dynamic. Experiment with different ideas and learn from each project. This approach has helped me grow as a railroader and refine my designs.
Remember, the journey is just as important as the destination. Take your time, enjoy the process, and don’t be afraid to make mistakes. They’re all part of the learning experience.
Advanced Techniques for HO Scale Train Layouts
Taking your model railway to the next level involves mastering advanced techniques that enhance both functionality and realism. Whether you’re refining your layout or adding intricate details, these methods will elevate your project to new heights.
Customizing Your Yard and Switching Operations
Customizing your yard and switching operations can significantly improve the realism of your layout. Start by planning the placement of switches and sidings to create a dynamic flow. For example, adding a passing siding allows one train to wait while another passes, mimicking real-world operations.
Here are some advanced techniques to consider:
- Use automated DCC systems to control multiple trains independently.
- Incorporate reverse loops to add variety and operational flexibility.
- Plan for staging areas to simulate freight and passenger movements.
Advanced switch placements can also enhance your track plan. For instance, a well-placed switch can create a hidden staging area, adding depth to your layout. These modifications not only improve functionality but also make your project more engaging.
Integrating Automated DCC and Power Management
Automated DCC systems are a game-changer for advanced layouts. They allow you to control multiple trains, lights, and accessories seamlessly. When integrating DCC, ensure your wiring is organized and labeled for easy troubleshooting.
Here’s a comparison of common power systems:
| System Type | Best Use |
|---|---|
| DCC | Multi-train control, advanced layouts |
| DC | Simple layouts, single-train operation |
Power management is equally important. Use toggle switches to isolate sections of the track for maintenance or troubleshooting. This ensures smooth operation and reduces downtime.
“Advanced techniques not only enhance functionality but also bring your layout closer to real-world operations.”
Experiment with custom solutions and creative ideas. For example, integrating a helix design can add elevation and length to your layout. These techniques, inspired by larger projects on SCARM, can transform your model railway into a masterpiece.
Conclusion
Creating a model railroad is a journey filled with creativity and precision, where every detail matters. From choosing the right track to planning a functional layout, each step shapes the final experience. I’ve learned that careful planning and attention to realism make all the difference.
Whether you’re using systems like Bachmann’s E-Z Track or exploring SCARM designs, the key is to enjoy the process. Every model you build reflects your unique vision. Don’t rush—take time to experiment and refine your ideas.
Remember, the joy of this hobby lies in the journey. Keep learning, try new techniques, and share your creations with others. Your layout is more than just a project; it’s a story waiting to be told. Let’s keep building and inspiring each other!
Want to build your dream model railroad? Download my FREE guide

Privacy Policy: We hate SPAM and promise to keep your email address safe
FAQ
What is HO scale, and why is it popular for model railways?
HO scale is a 1:87 ratio, meaning it’s small enough to fit in most spaces but detailed enough to create realistic scenes. It’s popular because it offers a great balance between size and detail, making it ideal for beginners and experienced railroaders alike.
How do I choose the right layout for my room?
Start by measuring your available area and considering your budget. Think about whether you want a simple loop, a yard, or a more complex design. I always recommend sketching a rough plan to visualize how it will fit in your space.
What track types and codes should I use for my layout?
There are various track types, like sectional or flex track, and codes like Code 83 or Code 100. I prefer flex track for its versatility, but sectional is great for beginners. The code refers to the rail height, with lower numbers being more realistic for modern railways.
How do I plan the dimensions and operational areas of my layout?
Start by deciding on key features like stations, yards, and scenic sections. I like to allocate space for each area, ensuring there’s enough room for smooth operation. Don’t forget to include switches and reverse loops for added functionality.
What tools or resources can help me design my layout?
I’ve found SCARM (Simple Computer Aided Railway Modeller) incredibly helpful for creating detailed track plans. Online forums and expert advice are also great resources for inspiration and troubleshooting.
How do I install DCC and power systems in my layout?
DCC (Digital Command Control) allows you to control multiple trains independently. I recommend starting with a basic DCC system and gradually expanding. Make sure to plan your wiring carefully to avoid power issues later.
What are some tips for adding realistic scenes to my layout?
I love adding bridges, tunnels, and reverse loops to create depth and interest. Scenic details like trees, buildings, and figures bring the layout to life. Don’t rush this part—take your time to make it look authentic.
How can I improve my yard and switching operations?
Customizing your yard with multiple tracks and switches enhances realism and functionality. I suggest practicing switching operations to ensure smooth movements and avoid derailments.
What’s the best way to get started with HO scale model railroading?
Start small and focus on learning the basics. My first layout was a simple loop, and it taught me a lot about track planning and operation. Don’t be afraid to ask for advice or join a local club for support.

